So, last Sunday morning—with my cat giving me that “you forgot to feed me again” look—I found myself raiding the fridge for something delicious yet (supposedly) healthy. That’s how this Zero Carb Yogurt Bread started worming its way into regular rotation at my house. I mean, bread with no carbs? Sounds made-up, right? My cousin swore it worked, so—being the culinary guinea pig I am—I gave it a whirl. And, look, it’s not grandma’s sourdough, but it’s kinda brilliant in a pinch. Also: did you know that if you leave yogurt open beside sourdough starter, your kitchen will smell like a forgotten backpack? Live and learn.
Why You’ll Love This Bread (or at least tolerate it, like I do!)
- I make this whenever I’m staring down a carton of Greek yogurt about to expire. My family actually asks for it now (their standards might just be low, though).
- It’s ridiculously filling. Protein way up there. Makes you feel full, but you can still move, you know?
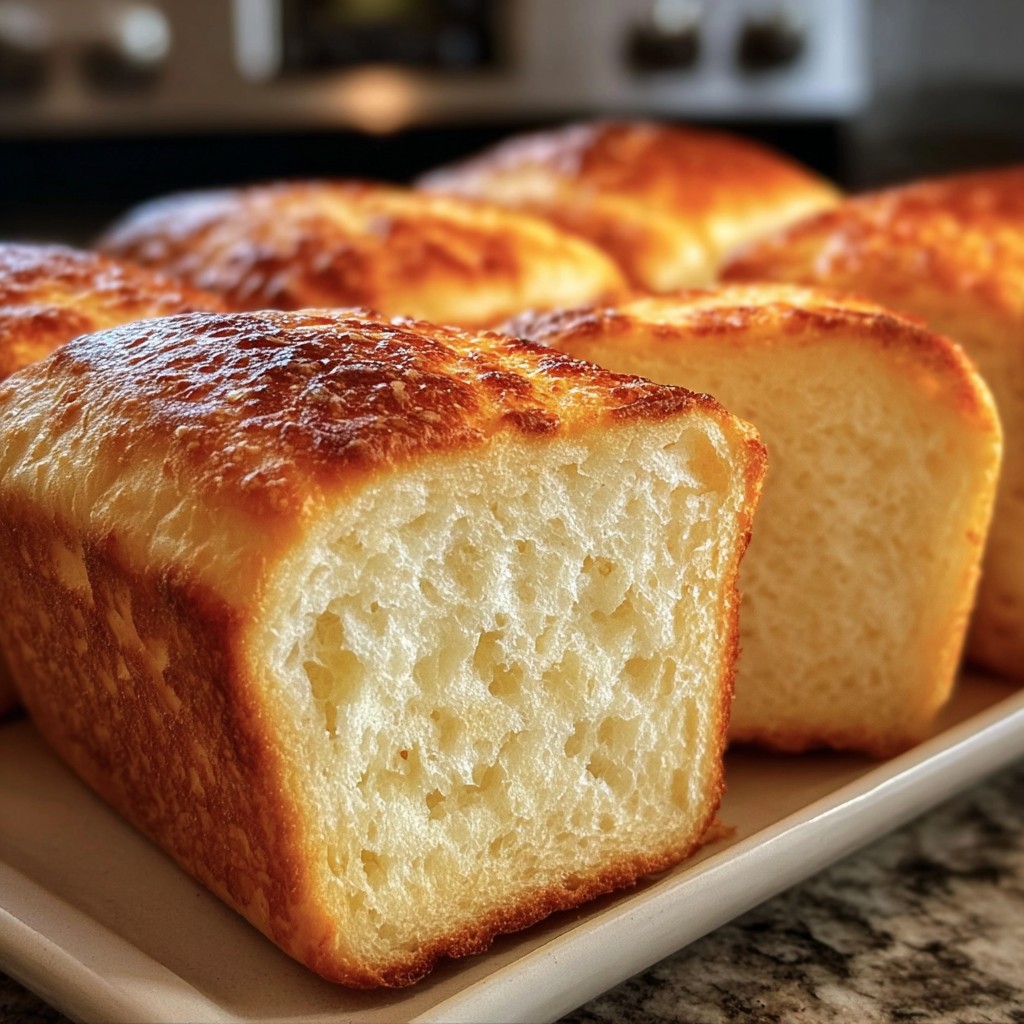
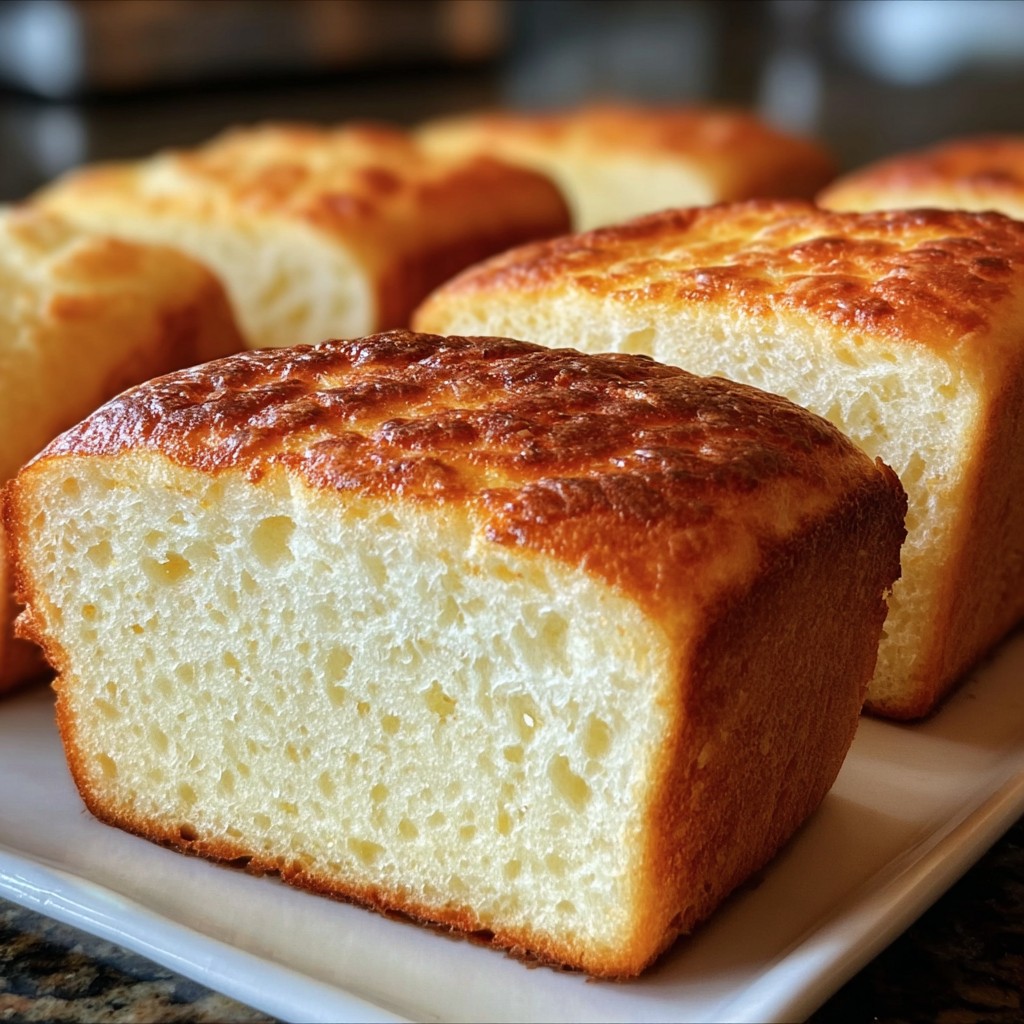
- It toasts up golden—even if it’s not quite carbs. I mean, it looks like bread if you close one eye.
- If you like dipping things, it holds up: salsa, tzatziki, even that weird sugar-free jam my friend gave me (which is… an acquired taste).
- I once thought baking without actual flour was like juggling bowling balls, but this comes together so quick you almost forgive the mess you’re bound to make.
What You’ll Need (And What You Can Swap In If You’re Feeling Wild)
- 1 cup full-fat Greek yogurt (I’ve sometimes used plain skyr or a scoop of that ultra-filtered cottage cheese in a pinch—don’t tell the purists)
- 1 cup egg whites (about 7 eggs’ worth, or yeah, grab a carton—no shame in shortcuts)
- 2 tablespoons unflavored whey protein isolate (my gran’ swore by Isopure but honestly, as long as it’s plain, any will do, even vegan blends if you’re brave)
- 1 tablespoon coconut flour (almond flour makes it denser—sometimes too much, but it’ll work)
- 1 teaspoon baking powder
- 1/2 teaspoon salt (Sea salt if you want to feel fancy)
- Optional: a handful of everything bagel seasoning, dried oregano, or rosemary (trust me, oregano is a gamechanger—but only if you like the stuff)

How To Make It (Leave Perfection at the Door)
- First, preheat your oven to 175°C (350°F); basically, hot but not scorching. Grease a loaf pan—small one works best, though I’ve dumped it in muffin cups when all the pans were dirty. Lining with baking paper saves your sanity, trust me.
- In a medium bowl, whisk the Greek yogurt, egg whites, and protein powder together until it’s a lumpy, slightly suspicious-looking batter. Pro tip: don’t overthink the consistency here. If you’ve got a hand mixer, give it a buzz for 30 seconds. Otherwise, old-fashioned elbow grease works fine.
- Add in coconut flour, baking powder, and salt. Whisk until just combined—if you get tiny flour bits at the edge, that’s normal. Sometimes, it looks like it’s never coming together and then—magically—it does.
- Stir in your herb of choice, being generous if you want flavor (or skip herbs and use a pinch of cinnamon for something sweet-ish… I’ve done it, results were decent but not outstanding).
- Pour into your prepared loaf pan. Smooth the top with a spatula—or, you know, the back of a spoon—then sprinkle on your optional seasoning (I always add extra salt on top, because why not?).
- This is where I sneak a tiny taste of the batter, just to check seasoning. It’s basically protein goop at this stage, so don’t expect fireworks.
- Bake for 40–45 minutes, until it’s puffed, golden, and a skewer comes out clean-ish. Weirdly, it sometimes cracks on top; I used to think this was bad, but I’ve accepted it now. Let cool for 15 minutes before removing form the pan (‘cause it will stick like a toddler to your leg if you rush it).
The Notes I Wish Someone Told Me
- If it looks a tad deflated after cooling, don’t panic. It will—it’s sort of like a soufflé that gave up.
- Actually, I find it works better if you let it cool completely before slicing (not that I always wait—sometimes the bread knife wins the squish battle).
- Sometimes the seasoning sinks to the bottom; next time, try tossing it in flour first.
Weird Variations I’ve Actually Tried
- Savory: Sun-dried tomato bits plus oregano (amazing with goat cheese… if you’re not strict keto, who cares?)
- Sweet: 1 tsp monk fruit, dash of vanilla extract—like a protein tea loaf. Not my favorite, but I ate it anyway.
- Absolute fail: Swapping all the yogurt for ricotta; turned out like a bland omelet. Wouldn’t recommend unless you’re desperate.
Equipment (But Honestly, You Can Improvise)
- Loaf pan (8×4-inch is perfect, but I once used a pie dish—bread just came out, well, circular)
- A whisk or hand mixer. Or a fork. Or, back in the day, I used a chopstick when all else failed. Don’t judge.
- Baking paper (if you like not scraping burnt bits for ages)

How to Store This Miracle Bread (But You Won’t Need To)
Supposedly, it keeps in an airtight container for up to 3 days—but, honestly, in my house it never lasts more than a day. If you want to freeze slices, stick parchment between ‘em. Once, I froze an entire loaf and, on second thought, it got a tad too icy. Don’t recommend unless you’ve got a vacuum sealer (mine’s always hiding or out of bags anyway).
How I Serve It (And How You Could, Too)
- My favorite: Toasted with butter, always, but my daughter dips hers in olive oil and balsamic like it’s a fancy restaurant.
- Actually holds up for sandwiches if you slice it thick! Chicken salad is the house favorite.
- Once, I used it as a base for mini pizzas. Might try that again on a lazy Friday night.
Pro Tips (All Learn’t from Minor Disaster)
- Don’t open the oven too soon, even if you’re nosey (I have to remind myself every time). It will collapse faster than my willpower during a cookie commercial.
- I once tried to double the recipe—ended up gummy in the middle, so stick with the single batch sizes for now. Maybe if you’ve got a commercial oven…
- Letting it cool fully actually makes it slice easier (I learned this after bread chunks crumbled in my hand more than I’d like to admit).
FAQ (Because My Neighbor Actually Asked These)
Can I use flavored yogurt?
Eh, you could, but then watch out for sugar/carbs (and, not to sound judgey, the taste goes a bit off—like vanilla and herbs, hmm).
Is this really zero carb?
Well, almost. Some yogurts sneak in a couple carbs, but if you stick with the no-sugar, high-protein ones, it’s close enough that keto folks won’t banish you.
I don’t have coconut flour! What now?
No problem. Almond flour just makes it heavier. Oat fiber isn’t too bad, though purists might roll their eyes. Or skip it and see what happens? I survived.
Do I need to whisk the egg whites separately?
Nope. Dump ’em in. I used to be fussier but honestly, life’s too short to wash extra bowls, right?
For inspiration, I sometimes check Ruled.Me’s keto bread ideas (they’re a bit more serious about it than I am) or Healthline’s bread swaps guide if you want the science-y angle. Oh, and if you want to deep dive carb math, there’s this Diet Doctor bread roundup—which is useful if, say, someone in the house questions your “zero” claims. Anyway, hope your bread turns out tasty—even if imperfect!
Ingredients
- 1 cup plain Greek yogurt (unsweetened, full-fat)
- 6 large eggs
- 1 cup unflavored whey protein isolate powder
- 1/4 cup coconut flour
- 1 1/2 tsp baking powder
- 1/2 tsp sea salt
- 1/4 tsp xanthan gum (optional, for texture)
- 1 tbsp olive oil (plus extra for greasing pan)
Instructions
-
1Preheat your oven to 350°F (175°C). Lightly grease a 9×5-inch loaf pan with olive oil or line with parchment paper.
-
2In a large mixing bowl, whisk together the Greek yogurt and eggs until smooth and fully combined.
-
3Add the whey protein isolate, coconut flour, baking powder, sea salt, and xanthan gum (if using). Mix until a thick, smooth batter forms.
-
4Pour the batter into the prepared loaf pan and smooth the top with a spatula.
-
5Bake for 30 minutes, or until the bread is golden on top and a toothpick inserted in the center comes out clean.
-
6Allow the bread to cool in the pan for 10 minutes, then transfer to a wire rack to cool completely before slicing.
Approximate Information for One Serving
Nutrition Disclaimers
Number of total servings shown is approximate. Actual number of servings will depend on your preferred portion sizes.
Nutritional values shown are general guidelines and reflect information for 1 serving using the ingredients listed, not including any optional ingredients. Actual macros may vary slightly depending on specific brands and types of ingredients used.
To determine the weight of one serving, prepare the recipe as instructed. Weigh the finished recipe, then divide the weight of the finished recipe (not including the weight of the container the food is in) by the desired number of servings. Result will be the weight of one serving.
Did you make this recipe?
Please consider Pinning it!!

Leave a Comment