
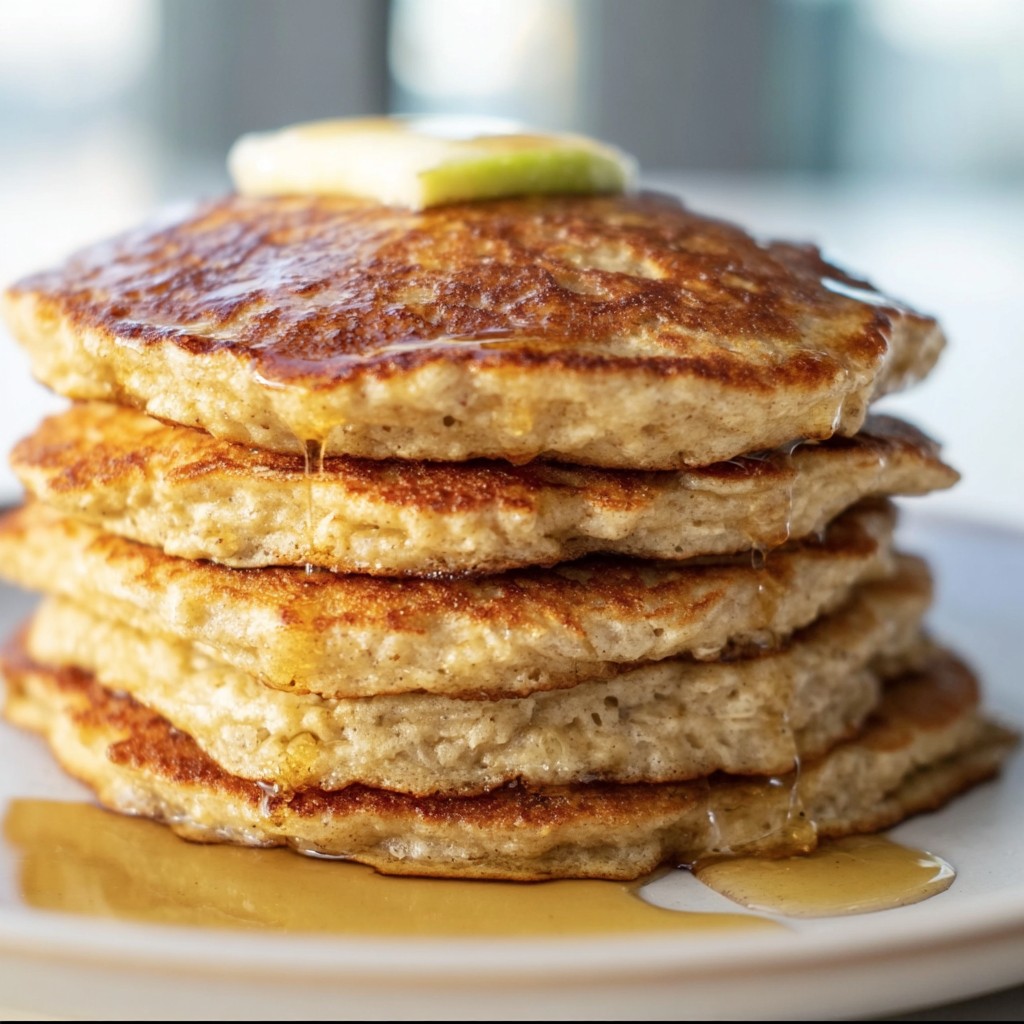
Why I Always Come Back To These Pancakes
Alright, picture this: it’s Sunday morning, rain is tap-tapping on the windows, I can’t find my slippers (again), but I know exactly what’ll make getting out of bed worth it. I got the idea for these flourless apple pancakes on a whim, after I’d accidentally used up all my regular flour for cookies the night before (big mood, right!?). At first, I was suspicious, but now? My mum literally calls to ask if I’ve made the apple beauties again.
I make them whenever someone needs cheering up, or when I’ve only got one sad apple and some oats hanging out in the cupboard. Plus, honestly, they’re a treat if you’re avoiding gluten, or just out of flour by accident (story of my life). They’re cozy with cinnamon, hearty, but in a not-too-hefty way. Even the kid next door likes them—and he hates anything that looks remotely healthy.
What You’ll Need (And Some Swaps That Work)
- 1 large apple, peeled or not (I sometimes use two tiny apples, or leave the skin on if I’m feeling lazy—green apples are zippy, red are sweet; suit yourself!)
- 2 large eggs (duck eggs are fancy; regular work fine, or sub for flax eggs if you have allergies—I’ve tried, it’s not bad)
- 1 cup rolled oats (quick oats in a pinch, steel-cut are too chewy for me, but you do you)
- 1/2 teaspoon ground cinnamon (but once I was out and used pumpkin pie spice… didn’t hate it)
- 1/2 teaspoon vanilla extract (sometimes I just skip this, but it always smells better with it)
- Pinch of salt (don’t skip! I did once, and it tasted oddly flat)
- 1/2 teaspoon baking powder (optional; Nana says it’s not needed, but I like the fluffiness)
- 2-3 tablespoons milk (plant or dairy; oat milk actually tastes spot on here)
- Oil or butter for the pan (I love a little coconut oil, but use what you have—one time I used leftover bacon grease, but that was… not my best idea.)
- Optional extras: handful raisins, walnuts, or a pinch nutmeg if you want to jazz it up
Let’s Make Pancakes (No Need To Stress)
- Get your oats ready: If you like smoother pancakes, pop the oats into a blender or food processor and blitz until they look like rough flour—sometimes I just use them as-is if I’m short on patience (or caffeine).
- Grate your apple: Don’t even peel it if you can’t be bothered; just core and grate straight into a bowl. I squeeze out a bit of the juice, unless you want super moist pancakes (not a bad thing, actually). Watch those knuckles—graters are sneaky.
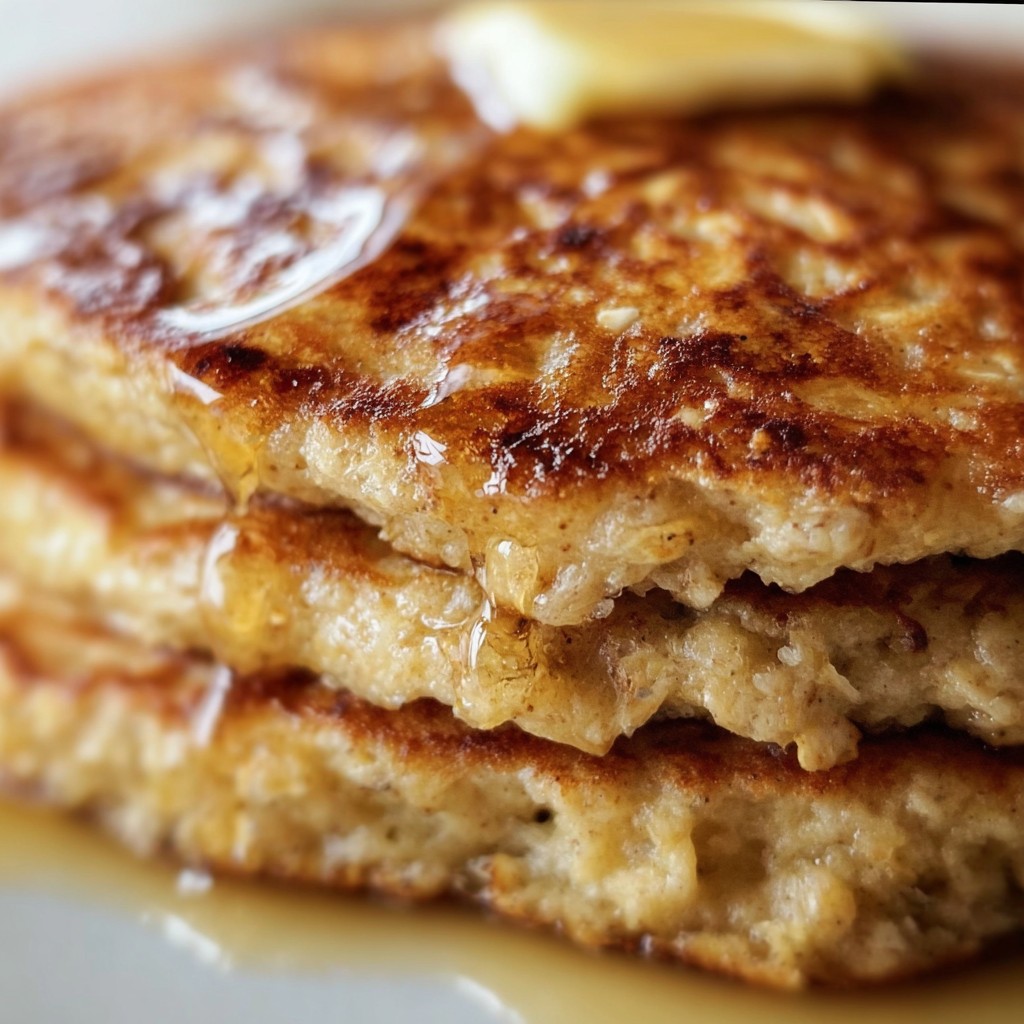
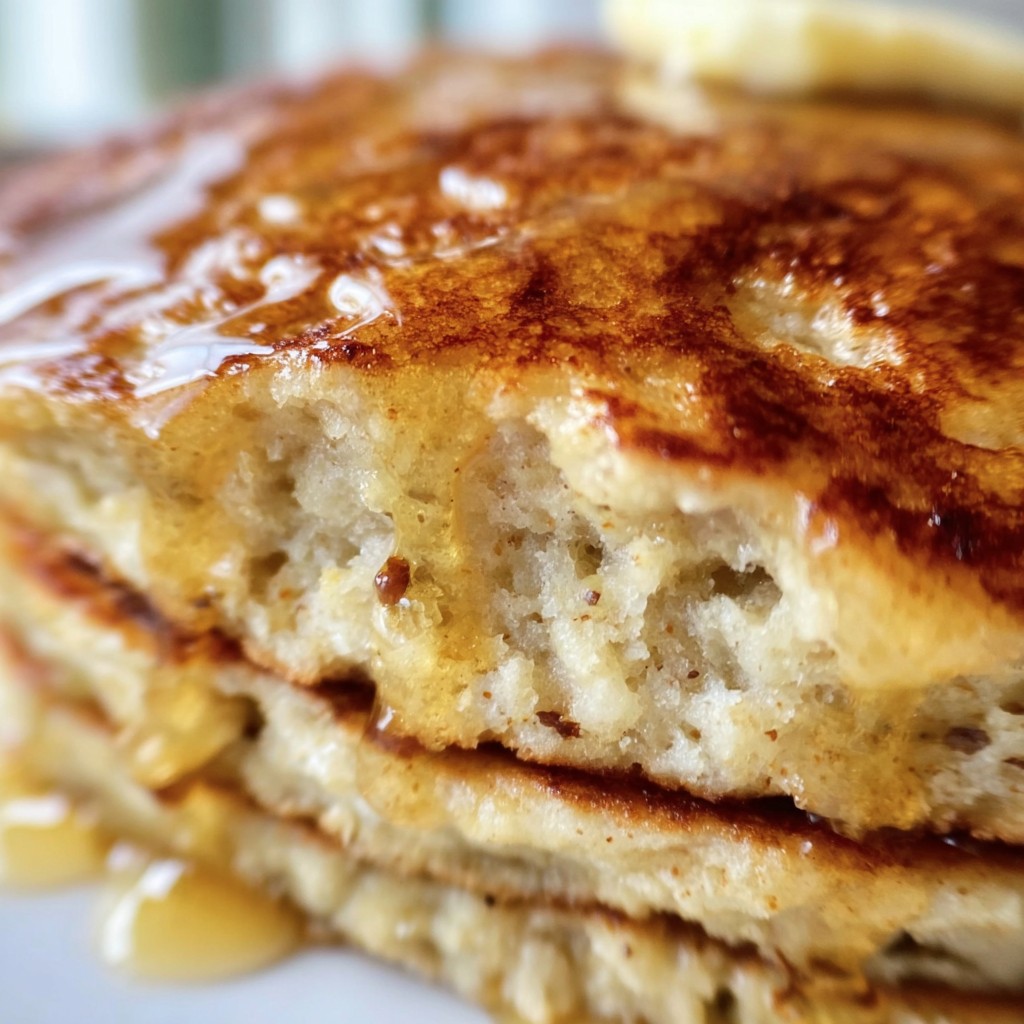
- Mix things up: Crack your eggs into a large-ish bowl, give them a quick whisk, then toss in your oats and cinnamon. Add the grated apple, vanilla, pinch of salt, baking powder, and milk. Stir it all together. It should look thick but not stodgy; add a splash more milk if you need (this is where I usually sneak a taste if I’m not serving kids—the cinnamon is just… wow).
- Heat the pan: Medium heat works best. Add a little oil or butter. Don’t be shy. When things start to sizzle, dollop your batter on in little rounds—about a heaping tablespoon per pancake is my go-to. (Don’t overcrowd; trust me—I’ve smooshed one too many together and got a tragic pancake blob.)
- Cook ‘em up: Wait until you see bubbles at the top (should take 2-3 minutes), then flip gently. I always panic a little here—sometimes they fall apart, but hey, they taste the same. Cook another minute or two, until golden brown and smelling absurdly good.
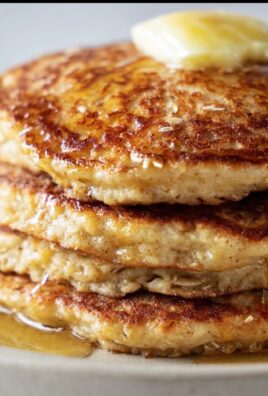
- Serve warm: Stack ‘em and serve right away, or keep the first ones warm in a low oven if you’re slow like me. I end up nibbling a broken one while the rest cook, honestly.
Notes From My Not-So-Perfect Kitchen
- I tried using steel-cut oats once, thinking I’d be extra wholesome—it was like eating crunchy porridge pancakes. Not my cuppa, but maybe you’ll like it?
- Let the batter rest for 5 minutes if you remember—it helps the oats absorb the flavor but it’s totally ok if you skip this.
- If the mix is too runny, toss in more oats; if too thick, splash some milk—forgiving is the word here.
Pancake Experiments (Some Winners, One Dud)
- Swapped apple for pear—surprisingly lush!
- I dumped in blueberries once, but they made things fall apart (still tasty, just extra messy).
- Hazelnut meal instead of some oats gives it an almost Nutella-vibe, if that’s your thing.
The Tools I Use (And What To Do If You Don’t Have ‘Em)
- Blender or food processor: For smoother oats—hand-mixing works in a pinch, just gives chunkier pancakes.
- Non-stick skillet or griddle: Cast iron gets that golden edge, but honestly, the regular frying pan you use for eggs does the job. Once, I tried the grill plate, but flipping became Olympic-level hard.
- Spatula: If you’ve only got a big spoon, just go slow. I’ve used a butter knife before in desperation—less than ideal.
Storing and Leftovers (Not That You’ll Have Any)
If there are leftovers—which, let’s be honest, rarely happens round here—I just toss them in an airtight box and they keep for a day or so in the fridge. Nuke for 30 seconds or warm in a low oven. Actually, I think the flavors deepen overnight, so don’t frown if you find a stray one next morning!
How I Like To Serve ‘Em
- Top with a dab of Greek yoghurt (I always steal the thick bit from the top of the tub first, sorry family!)
- Drizzle with honey or maple syrup—sometimes both, if I can’t decide
- Scatter on toasted nuts or a dusting more cinnamon
- Bit of apple butter on the side is grand, especially if you made your own. If not, this recipe is ace.
Oh, and a cuppa strong tea or proper coffee—makes the whole thing feel posh. (If you’re curious about the best pancake pans, Serious Eats did a nice rundown. Might save you a bunch of trial and error!)
Pro Tips I Learned The Hard Way
- Don’t crank up the heat to hurry—once I did, burnt outside, raw inside. Never again.
- Use a real spatula if you can; flipping with tongs leads to pancake carnage.
- Add the extra milk gradually—once I poured in too much at once and ended up with oat-apple soup. Oops!
Questions Folks Have Actually Asked Me
- Do I really have to blend the oats?
Nope, but the texture’s smoother if you do. You can skip the step, but be ready for a rougher bite (which, I mean, is not the end of the world). - Can I make these vegan?
Yup, use flax eggs and plant milk. The flavor’s still good, but the structure is a touch softer. Wouldn’t try to make them super big, or they’ll be tricky to flip. - What’s the best apple for these pancakes?
I prefer Granny Smith or Fuji because they’re not too watery, but honestly, I’ve used any apple I could grab, and it always works out. - Can I freeze these?
Technically, yes—but they change texture a bit. I tried once, and they were just okay after defrosting; still edible, but never as good as fresh-off-the-pan. - I don’t have baking powder—should I panic?
Not at all. You can skip it; they’ll be less fluffy but still delish. Or use a smidge of baking soda plus a drop of lemon juice (if, by chance, you have that handy).
Oh, before I forget: I listened to pancake playlists while making these last time—music (and maybe a sweeping dance move or two) makes flipping easier, I swear.
So, there’s my little pancake confession. Go on, try them out. If yours look a bit wonky, welcome to the club.
Ingredients
- 1 cup rolled oats
- 2 medium apples, peeled and grated
- 2 large eggs
- 1/2 cup milk (any type)
- 1 tsp ground cinnamon
- 1 tbsp honey or maple syrup
- 1 tsp baking powder
- Pinch of salt
- Butter or oil for cooking
Instructions
-
1Place the rolled oats in a blender and blend until they become a coarse flour.
-
2Transfer oats to a bowl. Add grated apples, eggs, milk, cinnamon, honey, baking powder, and salt. Mix well until combined.
-
3Heat a non-stick skillet over medium heat and lightly grease with butter or oil.
-
4Pour about 1/4 cup of batter for each pancake onto the skillet. Cook for 2-3 minutes until bubbles form, then flip and cook another 2 minutes until golden and cooked through.
-
5Serve warm, optionally topped with extra apple slices, maple syrup, or a sprinkle of cinnamon.
Approximate Information for One Serving
Nutrition Disclaimers
Number of total servings shown is approximate. Actual number of servings will depend on your preferred portion sizes.
Nutritional values shown are general guidelines and reflect information for 1 serving using the ingredients listed, not including any optional ingredients. Actual macros may vary slightly depending on specific brands and types of ingredients used.
To determine the weight of one serving, prepare the recipe as instructed. Weigh the finished recipe, then divide the weight of the finished recipe (not including the weight of the container the food is in) by the desired number of servings. Result will be the weight of one serving.
Did you make this recipe?
Please consider Pinning it!!
Leave a Comment