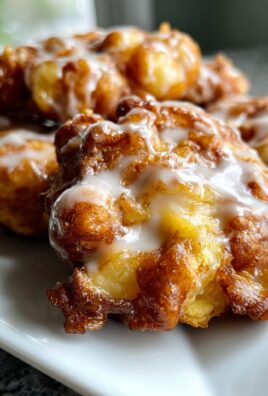
Let Me Tell You About These Apple Fritters…
Alright, friend—imagine it’s raining (or just a bit gloomy), and for some reason you’re craving that perfect combo of sweet, crispy, and just a touch of tart. That’s the headspace I get in when I decide to make apple fritters. My cousin Emily introduced me to them at one of those chaotic family breakfasts—her first batch looked more like sweet potato pancakes than fritters, but the smell? Out of this world. There’s something about mixing apples, cinnamon, and a bit of vanilla that makes a kitchen feel like autumn, even if you’re baking these in the middle of May. (And yes, I absolutely make these outside of apple season. Sue me!)
Why Do I Keep Making These?
No kidding, I whip these up when I need a little pick-me-up (and, let’s be honest, when I want everyone to think I spent HOURS in the kitchen). My family goes absolutely bonkers for these—my nephew once tried hiding the last three in the microwave, which honestly just makes me proud of his problem-solving. These fritters have rescued Saturday mornings when the pancake box is empty (whoops!) and I’ve dealt with a few soggy batches before finally nailing the trick: don’t crowd the pan, because otherwise it just turns into apple-studded mush. Not that I’m above eating that, either…
Gather Up These Ingredients
- 2 medium apples, peeled, cored, and chopped (Granny Smith’s the classic, but Pink Ladies or whatever’s knocking about in your fruit bowl work—my grandma swore by Macintoshes, yet I just use what looks good!)
- 1 cup all-purpose flour (sometimes I sneak in half whole wheat, no one’s noticed yet)
- 2 tbsp sugar (or swap in honey—just cut back a smidge on milk)
- 1 1/2 tsp baking powder
- 1/2 tsp cinnamon (you can add more if you’re feeling spicy)
- 1/4 tsp salt
- 1 egg
- 1/3 cup milk (nondairy works in a pinch—almond milk’s fine, oat milk’s better imho)
- 1 tsp vanilla extract
- Vegetable oil for frying (olive oil works, but only if you like its flavor lurking in there)
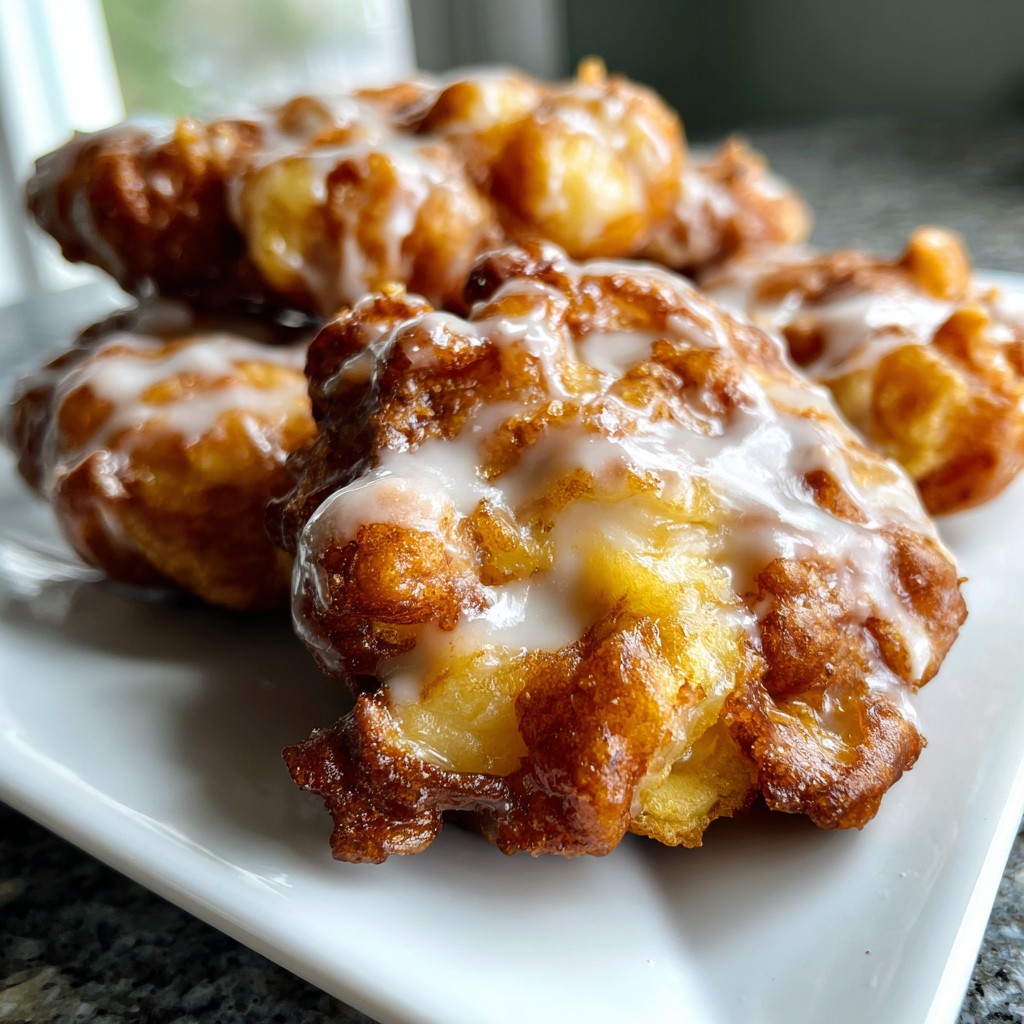
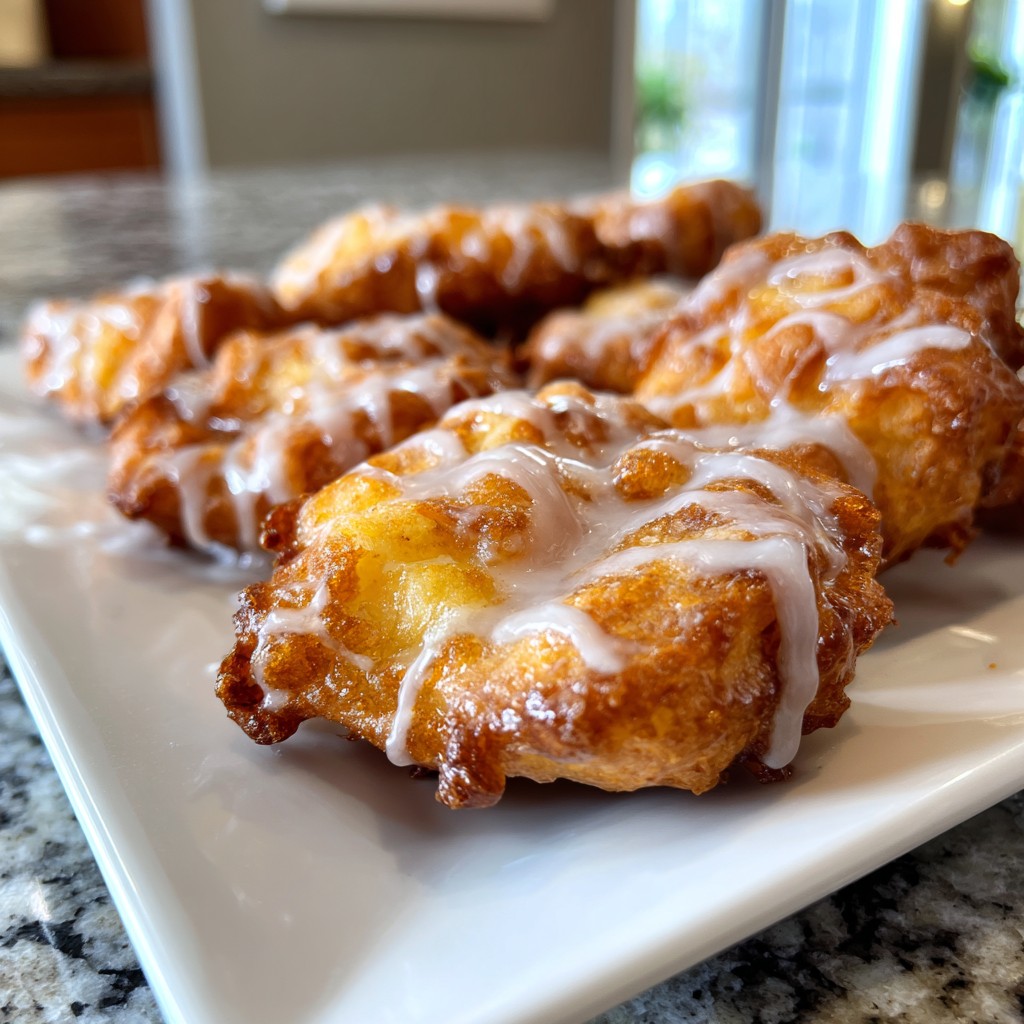
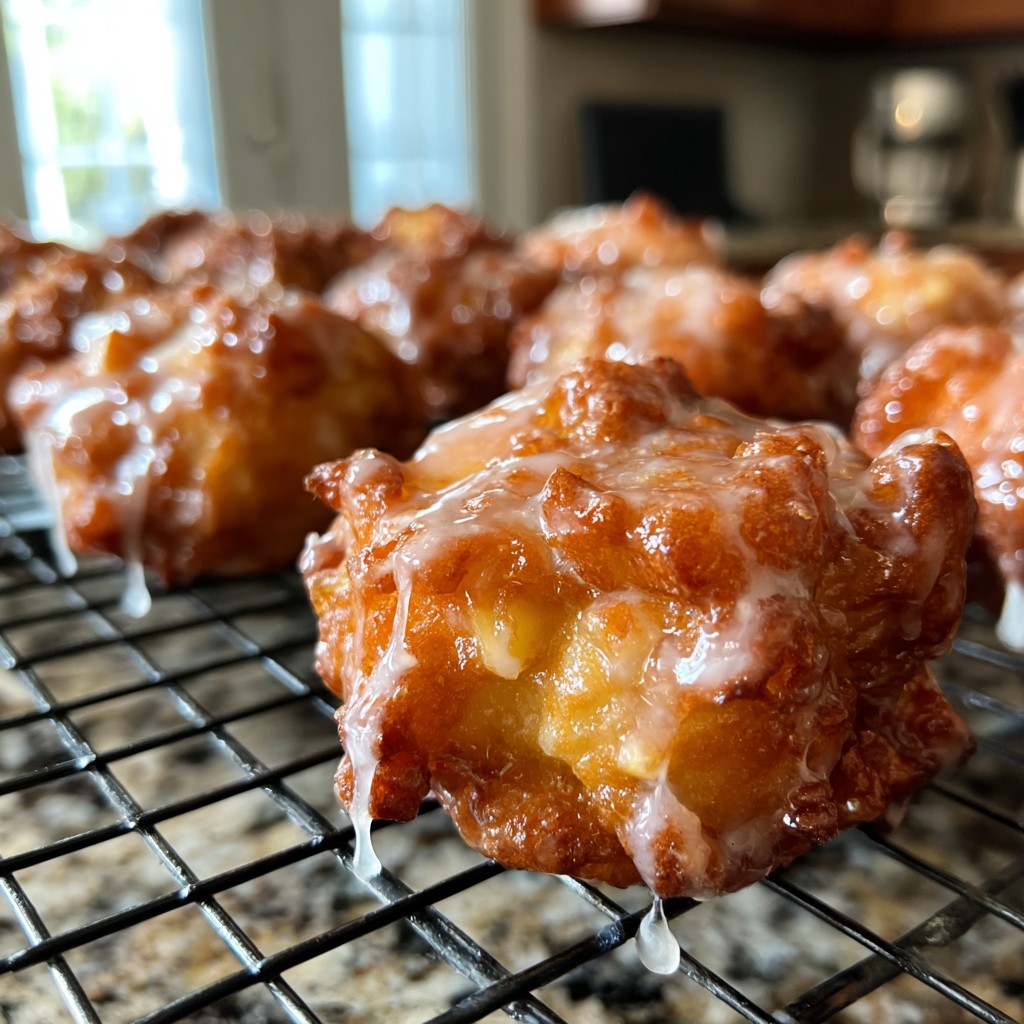
- Powdered sugar or glaze for topping (sometimes I skip it, sometimes I drown them—your fritters, your rules)
How I Really Make ‘Em (Directions, but Kinda Looser)
- First off, peel and chop your apples into little dicey bits (no ruler needed—if one’s the size of a grape, don’t sweat it). Place in a bowl, and maybe snack on a few—quality control, right?
- In a bigger bowl, whisk together the flour, sugar, baking powder, cinnamon, and salt. Give it a sniff; if you’re not grinning, add another sprinkle of cinnamon. Or maybe that’s just me.
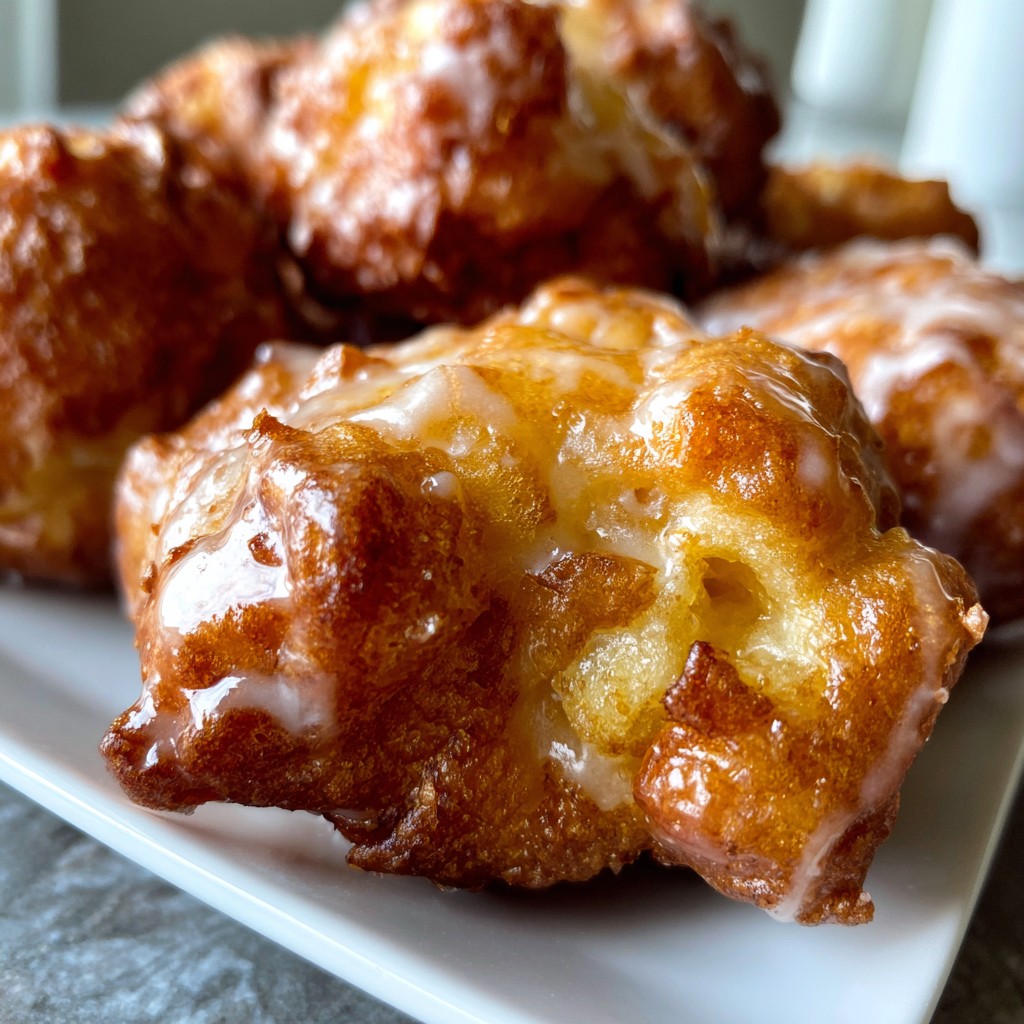
- Crack the egg into the middle, splash in the milk, and vanilla. Mix it up—but don’t fuss too much if it’s lumpy at first, the apples hide a multitude of sins. Add the apples, fold ’em in. It’ll look chunky. That’s good.
- Pour about 1/2 inch of oil in a heavy bottomed skillet (cast iron works a treat—if you’ve got one). Heat over medium-high until a bit of batter sizzles when you drop it in; not too hot or they’ll go from golden to, well, unfortunately brown real quick.
- Spoon a good dollop of batter into the pan—it’ll spread, but don’t panic, that’s normal. Do a couple at a time; they need their space. Fry until golden on the first side (takes maybe 2-ish mins?), then flip and do the other. If they look a little irregular, congrats—you’ve made homemade fritters. Remove to a paper towel lined plate.
- This is where I usually sneak a hot one. But maybe let them cool slightly before dusting with powdered sugar—or drizzle with a simple glaze if you’re feeling faffy.
Stuff I Wish I’d Known (Notes)
- If your apples are super juicy, maybe blot them with paper towel first, otherwise your batter’ll get runny. (Not a disaster, just kinda weird.)
- Actually, I find letting the batter sit for just ten minutes before frying makes everything a bit puffier.
- Don’t make ‘em too big—trust me, the outsides can burn before the inside’s less than gluey. I learned the hard way.
How I’ve Twisted This Recipe (or Tried To, Anyway)
- I once swapped in pears—pretty tasty though a bit softer. Bananas? Nope, didn’t hold together; mush city.
- Cinnamon and nutmeg is next-level, or sometimes I sprinkle a little shredded coconut in for fun (this is very much a “if the spirit moves you” thing).
- If you want to go Canadian (like my Aunt June swears is the “proper” way), dunk ’em in maple glaze.
Gear You’ll Need (And What You Can Get Away With)
- Mixing bowls—one big, one smallish. Or honestly, just wash the same one between steps.
- Frying pan or skillet (cast iron is my fave, but a regular nonstick does fine if you’re careful)
- Something for flipping—fish slice, spatula, or even tongs (I lost my spatula once and used a wooden spoon; it just requires confidence)
- Paper towel for blotting if you don’t like them oily. If not, just use a cooling rack from this fun list (also, totally optional)
What About Leftovers? (But Are You Even Gonna Have Any?)
These fritters, in theory, keep in an airtight tin for about a day or two. Fact is, in my house they rarely last past breakfast. If you do have leftovers, try reheating them in a low oven for five minutes; microwaving makes ’em a bit soft, but sometimes that’s just fine too (especially when you’re in a rush before school runs!).
How I Love To Serve Them
Honestly, there’s no wrong way. My lot like these with a mountain of whipped cream (not traditional, but what is?), and sometimes a little scoop of vanilla ice cream if someone’s birthday falls on a weekend. Occasionally I’ll pile on berries if I’m pretending to be health conscious. A cup of proper English tea, or for the true indulgence, a Stumptown cold brew—I tend to think it’s the little luxuries that make life sweet.
Here’s What I Remember to (Usually) Do (Pro Tips)
- One time I tried frying these before the oil was hot enough—what a mistake; they soaked up every drop and came out greasy as an engine block. Wait for the sizzle!
- Don’t crowd the pan. You want that golden crisp all the way around—otherwise, you end up with a batch welded together like a rugby scrum.
- If you’re making a double batch (which, let’s be real, you’ll want to), keep the first batch warm in a low oven, not on the stovetop—I learned that when I forgot them and scorched a perfectly good tea towel. Live and learn!
Common Questions I’ve Actually Gotten
- Do I have to peel the apples?—Nah, if you’re not fussed by a bit of skin; I sometimes leave it on when I’m lazy (just chop finer).
- Can I bake these instead?—Well, you can, but they end up more like apple scones than fritters. Tasty in their own way, but… not the same, really.
- What oil’s best?—I use vegetable or canola, whatever’s cheapest that week. Olive oil is okay if you like it, but I think it fights with the apple.
- My fritters look a bit weird, like lumpy pancakes—did I mess up? Nope, they’re supposed to! If they taste good, you won.
- Can they be made ahead?—You can, I guess, but like most fried treats, they’re best fresh. That said, I personally think they taste even better on day two—just don’t expect any crunch.
Last thing: if you’re struggling with the urge to make these twice in a week—don’t worry. I’ve been there, and, frankly, life’s too short for self-denial when fritters are this easy.
Ingredients
- 2 medium apples, peeled, cored, and diced
- 1 cup all-purpose flour
- 2 tablespoons granulated sugar
- 1 teaspoon baking powder
- 1/4 teaspoon ground cinnamon
- 1/4 teaspoon salt
- 2 large eggs
- 1/3 cup milk
- 1/2 teaspoon vanilla extract
- Vegetable oil, for frying
- Powdered sugar, for dusting
Instructions
-
1In a large bowl, whisk together the flour, granulated sugar, baking powder, cinnamon, and salt.
-
2In a separate bowl, beat the eggs, then add the milk and vanilla extract. Stir to combine.
-
3Pour the wet mixture into the dry ingredients and mix until just combined. Fold in the diced apples.
-
4Heat about 1 inch of vegetable oil in a deep skillet over medium heat until it reaches 350°F (175°C).
-
5Drop spoonfuls of batter into the hot oil, frying in batches. Fry for 2-3 minutes per side or until golden brown.
-
6Remove fritters with a slotted spoon and drain on paper towels. Dust with powdered sugar before serving.
Approximate Information for One Serving
Nutrition Disclaimers
Number of total servings shown is approximate. Actual number of servings will depend on your preferred portion sizes.
Nutritional values shown are general guidelines and reflect information for 1 serving using the ingredients listed, not including any optional ingredients. Actual macros may vary slightly depending on specific brands and types of ingredients used.
To determine the weight of one serving, prepare the recipe as instructed. Weigh the finished recipe, then divide the weight of the finished recipe (not including the weight of the container the food is in) by the desired number of servings. Result will be the weight of one serving.
Did you make this recipe?
Please consider Pinning it!!
Leave a Comment