
So here’s the thing about my love affair with quinoa porridge
If someone had told me a few years back that I’d be raving about a quinoa porridge (of all things) instead of my usual bowl of oats, I would’ve raised an eyebrow hard enough to pull a muscle. My first try was honestly a total fluke—I ran out of oats one rainy Saturday, and the only grain I could dig out of my pantry was a sad little bag of quinoa, hiding behind the backup peanut butter. Fast-forward: it’s my go-to breakfast any time I want something creamy, filling, and a little bit fancy. The kids say it looks like birdseed, but they eat it anyway—probably because I load it with toppings. Or, just maybe, my cooking skills have improved? Ha, who am I kidding. Anyway, get ready: this one’s so simple, you’ll actually want to make it on a Monday morning.
Why do I keep making this creamy quinoa porridge?
I make this when I’m craving something warm in the belly, but I want a break from oats (as much as I still love ‘em, you can only eat so many, right?). My family goes a bit nuts because it’s not too sweet, not too heavy, and they can all pick their own toppings (which is super handy for fussy eaters or anyone who believes every meal needs cocoa nibs). Actually, the Minimalist Baker version got me started, but through trial and error, I’ve given it my own twist. And let’s not even talk about how easy it is to scale up if you’ve got a full house, though washing the pan is still annoying—one day I’ll remember to soak it right after, not three hours later.
What you’ll need (plus a few cheeky substitutions)
- 1 cup uncooked quinoa (red or white, though tri-color works if that’s all you find; I sometimes use leftover cooked quinoa too, but it changes the texture)
- 2 1/4 cups milk (dairy or any plant-based—honestly, almond, oat, or even coconut milk are all grand; I use oat milk most often because it’s always in my fridge)
- 1/2 cup water (or skip and just up the milk, no biggie)
- 2 tbsp maple syrup or honey (but brown sugar in a pinch does the trick—my grandmother swore by Lyle’s Golden Syrup, but I rarely splurge)
- 1 tsp vanilla extract (absolutely skip this if you hate vanilla, but I love that perfumey little hit)
- Pinch of salt (just… don’t forget this. Otherwise, it’s so flat I once accidentally ate the whole pot and didn’t realise until my third cup of coffee)
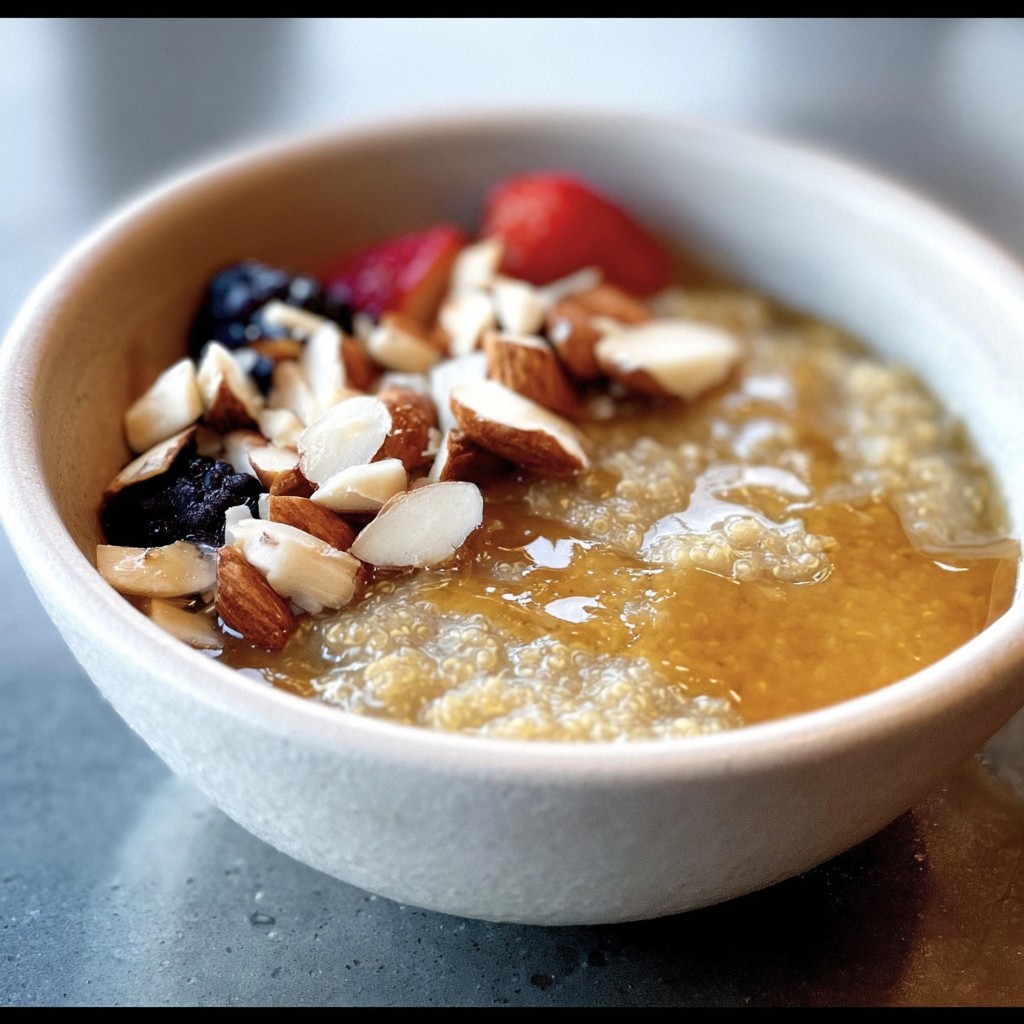
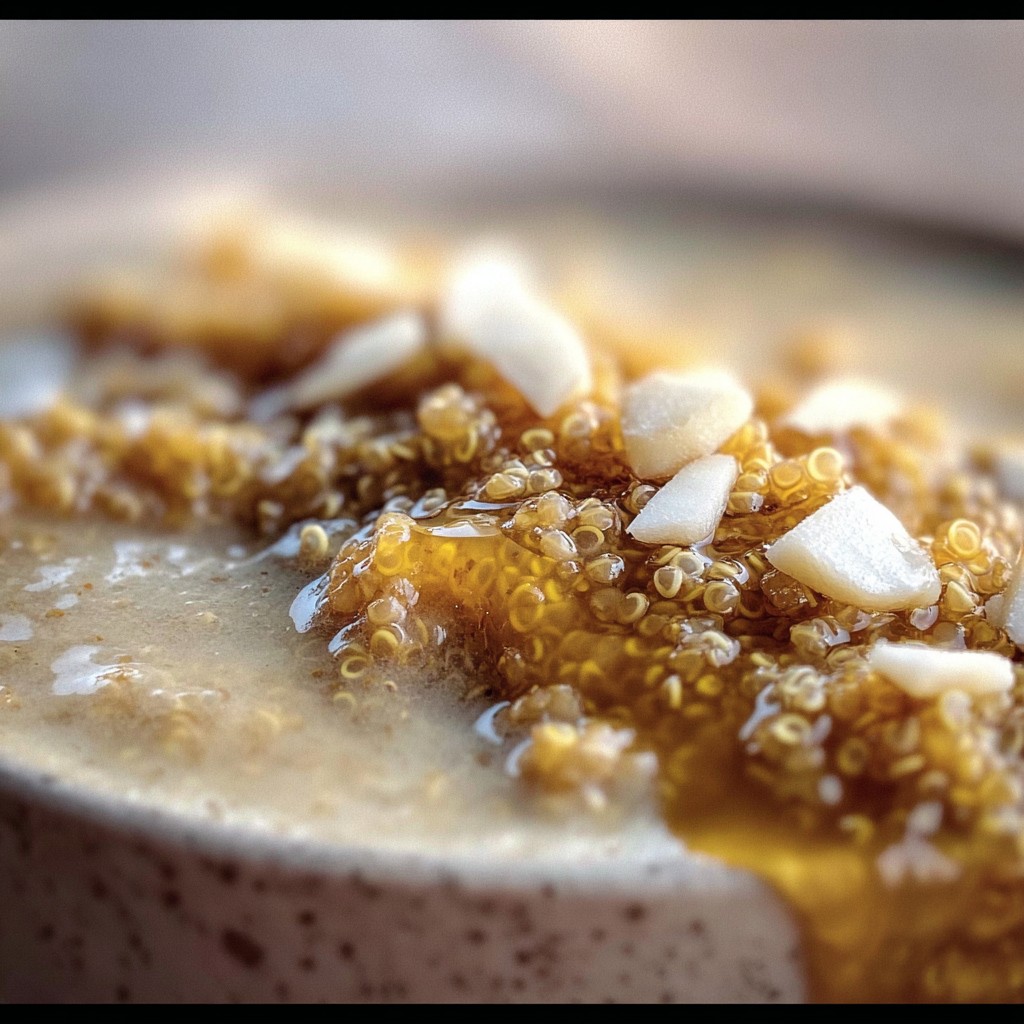
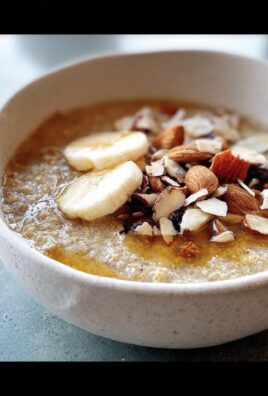
- Toppings: fresh berries, nut butter, toasted seeds, shredded coconut, chocolate chips, banana… go wild. Sometimes I throw a handful of granola on top for crunch, which is possibly cheating, but whatever.
How to pull this together (it’s really not hard!)
- First, rinse the quinoa in a fine-mesh sieve under cold running water (really, do this even if you’re tempted to skip; otherwise, it can be a tad bitter—that’s me talking from experience, my friend).
- In a medium saucepan, chuck in the rinsed quinoa, milk, water, maple syrup, vanilla, and salt. Set it over medium heat. Stir a bit, nothing too wild.
- Bring it all to a gentle simmer (don’t crank the heat, or you’ll end up with a volcanic milk eruption—trust me, wiping that off the stove is zero fun). Stir once or twice, then let it cook for about 18 to 20 mins, uncovered.
- This is where I usually peek after 10 mins and sneak a taste—sometimes quinoa cooks faster if my stove’s running hot, or maybe it’s just wishful thinking because I’m hungry.
- Once most of the liquid is absorbed and it looks creamy (but not dry—a bit like rice pudding, actually), turn off the heat. If it looks weirdly runny, just give it a minute; it thickens as it sits.
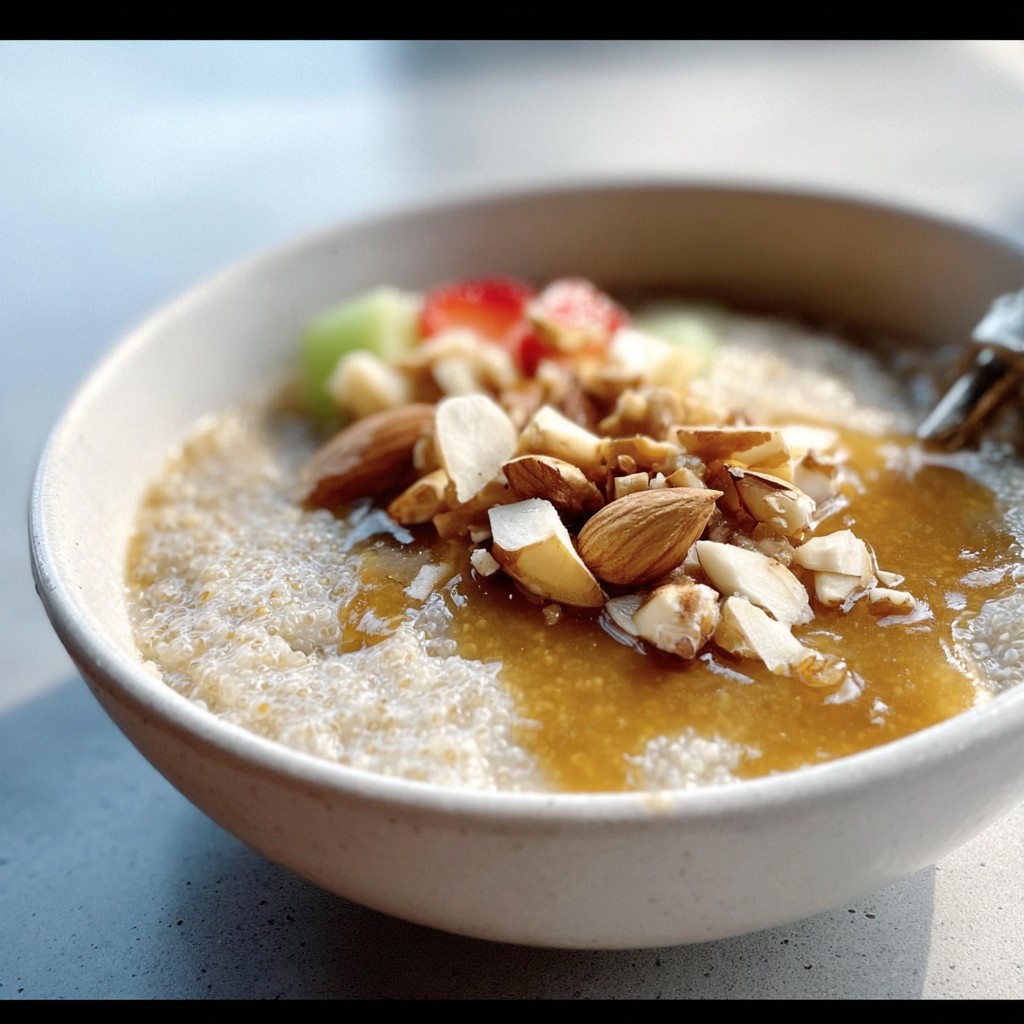
- Ladle it into bowls. Top with everything and anything you love. Sit back and enjoy the cosiness. Or, if you’re me, get called away to break up an argument about who gets the biggest strawberry.
Notes from my sometimes-messy kitchen
- If you use coconut milk, it can be a bit rich; I tend to do half coconut, half water. On second thought, straight coconut is great if you’re feeling extra.
- I once skipped rinsing the quinoa to save time, but the bitterness wasn’t worth it. Really—rinsing takes… what, 30 seconds?
- Sometimes I get distracted and let it cook a minute too long; just stir in another splash of milk to bring it back to creamy glory.
Weird and wonderful variations I’ve tried
- Adding a spoonful of peanut butter as it cooks—game changer. (Hazelnut butter, not so much. That experiment tasted weirdly astringent. Skip!)
- Swap the maple syrup for date syrup or apple butter if you have it. Those are real treats, though good luck finding apple butter outside Autumn here.
- Cooking in all coconut milk and topping with kiwi and mango: tastes like a holiday in a bowl.
Do you really need any fancy equipment?
All you really need is a saucepan and a spoon. If your only sieve is AWOL (mine vanishes when I need it, classic), just swirl the quinoa in a bowl of water and pour off—the old-school way. You absolutely don’t need a fancy rice cooker, though I tried it once and, strangely, my batch came out burnt on the bottom. Save your gadgets for other recipes.

Storing leftovers—if you’ve got any!
Store in an airtight container in the fridge for up to three days (though honestly, in my house it never lasts more than a day!). I think it actually tastes better the next morning, maybe that’s just me? If it firms up in the fridge, just pour a little extra milk over when reheating. Here’s a link from Cookie+Kate with similar advice, if you want another take.
How I like to serve it up (and a family quirk)
I usually let everyone top their bowl with whatever’s lurking in the fruit basket—bananas, blueberries, a handful of granola if the mood strikes. Sometimes, we go all out Sunday-style with toasted almonds and a little gold honey drizzled on top (if we’re feeling posh, which is rare, but hey). There’s a new tradition now: my youngest always insists on eating it with a fork. No idea why, but who am I to ruin a breakfast ritual?
Pro tips a.k.a. stuff I wish I knew sooner
- Once, I tried rushing the simmering step and ended up with crunchy quinoa—not my finest hour. Don’t crank the heat, it’s not worth it.
- Don’t forget the pinch of salt! I do, sometimes, and it just falls flat. Learned the hard way.
- If you’re using dairy milk, keep an eye out for boiling over. That stuff loves to make a break for it the second you look away. Wild.
FAQ—because people actually asked me these!
- Can I make it in advance? Absolutely, I find it gets creamier overnight—but stir before reheating so it’s not too thick.
- Do I have to use milk? Nope, water works, but it’s much less rich. Sometimes I cut it half and half if I’m running low on milk.
- Is quinoa really better for you than oats? I dunno about better, but it’s got more protein, which means I’m not tanking before 11am. Here’s a good comparison chart.
- What if it gets clumpy? Just stir, add more milk, and pretend you meant to make ‘extra-thick’ porridge. Works every time.
- My kids say it looks weird—any advice? Toppings! And maybe serve it in a mug? For some reason, my lot eat anything in a mug. Go figure.
And finally—if you end up eating it straight from the pot at the sink, well, we’ve all been there. Don’t let anyone tell you different.
Ingredients
- 1 cup unsweetened plant milk (such as almond or oat milk)
- 1/2 cup white quinoa, rinsed well
- 1 cup water
- 1 tablespoon maple syrup or honey
- 1/2 teaspoon ground cinnamon
- 1/4 teaspoon vanilla extract
- Pinch of salt
- 1/2 cup chopped fresh fruit or berries, for topping (optional)
- 2 tablespoons chopped nuts or seeds, for garnish (optional)
Instructions
-
1Rinse quinoa thoroughly under cold running water using a fine mesh sieve and drain well.
-
2In a small saucepan, combine rinsed quinoa, plant milk, water, cinnamon, vanilla extract, and pinch of salt.
-
3Bring mixture to a gentle boil over medium heat. Reduce heat to low, cover, and simmer for 12-15 minutes, stirring occasionally, until quinoa is tender and the porridge is creamy.
-
4Remove from heat and stir in maple syrup or honey. Let stand for 2 minutes to thicken.
-
5Divide porridge between bowls. Top with fresh fruit and chopped nuts or seeds, if desired. Serve warm.
Approximate Information for One Serving
Nutrition Disclaimers
Number of total servings shown is approximate. Actual number of servings will depend on your preferred portion sizes.
Nutritional values shown are general guidelines and reflect information for 1 serving using the ingredients listed, not including any optional ingredients. Actual macros may vary slightly depending on specific brands and types of ingredients used.
To determine the weight of one serving, prepare the recipe as instructed. Weigh the finished recipe, then divide the weight of the finished recipe (not including the weight of the container the food is in) by the desired number of servings. Result will be the weight of one serving.
Did you make this recipe?
Please consider Pinning it!!


Leave a Comment