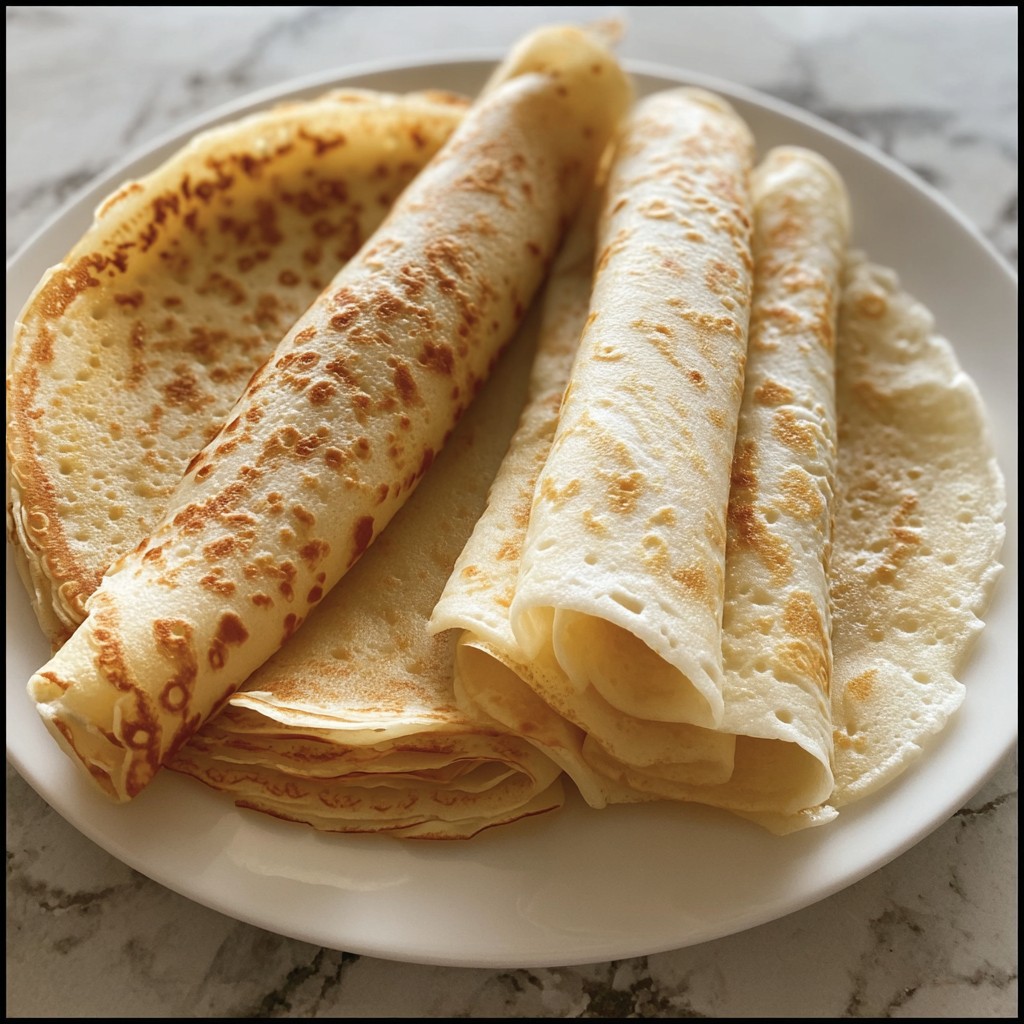
The Time I Fell for Cottage Cheese Wraps
Alright, so picture this: it’s a Tuesday night, I’m absolutely knackered after work, and the last thing I want to do is spend ages prepping dinner. Then—like a sign form the dinner gods—I remember cottage cheese wraps. No word of a lie, the first time I made these, I actually doubted myself halfway through (it just doesn’t look right before it’s cooked, does it?). Funny thing is, they came out pretty darn delicious, and now my mates are hooked too. Even my brother, who thinks anything ‘healthy’ is suspicious, asked for seconds. Plus, there’s something weirdly satisfying about making your own wraps — a little like adult arts and crafts, but edible.
Why You’ll Genuinely Love These Wraps
I whip these up whenever I find a tub of cottage cheese sitting lonely in the fridge. My family basically cheers (or groans, playfully) because everyone gets to stuff their own. They’re brilliant if you just want something quick and not too carby (personally, I get bored of lettuce wraps after a while). And, not gonna sugarcoat it: I tried fancier, really involved recipes once, but honestly, these are just quicker, and the leftovers are somehow even better. Oh, and if you’ve got fussy eaters, something about the cheesy flavor gets them sneaking extra bites (my nephew claims it tastes ‘like grilled pizza crust’).
Ingredients (Swaps, Cheats, and Family Opinions)
- 1 cup cottage cheese (full fat is creamier, but low fat is fine—my grandmother used to swear by Daisy brand, but the supermarket own-label works, too)
- 2 large eggs (free-range if you can, but I’ve made this with plain ol’ store eggs plenty of times)
- 1/4 cup plain flour or almond flour (or honestly, just a handful—I’ve eyeballed it in a pinch; oat flour works if you’re avoiding wheat, though the texture is slightly different)
- Pinch of salt (sea salt or the stuff in the blue tub, no judgment)
- Optional: pinch of garlic powder or Italian herbs (sometimes I get wild and toss in red pepper flakes)
- Spray oil or a drizzle of olive oil (if you forget this step—been there—you’ll be chiseling them off the pan later)

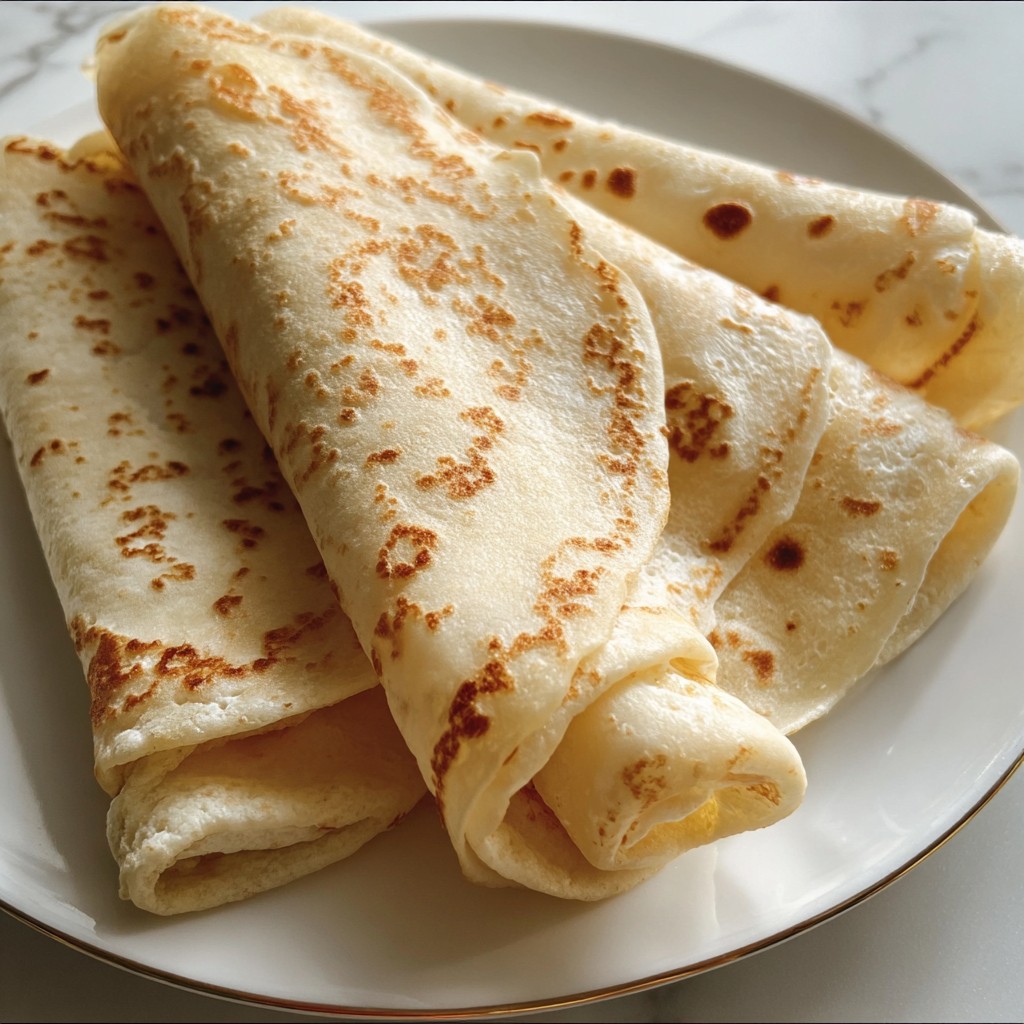
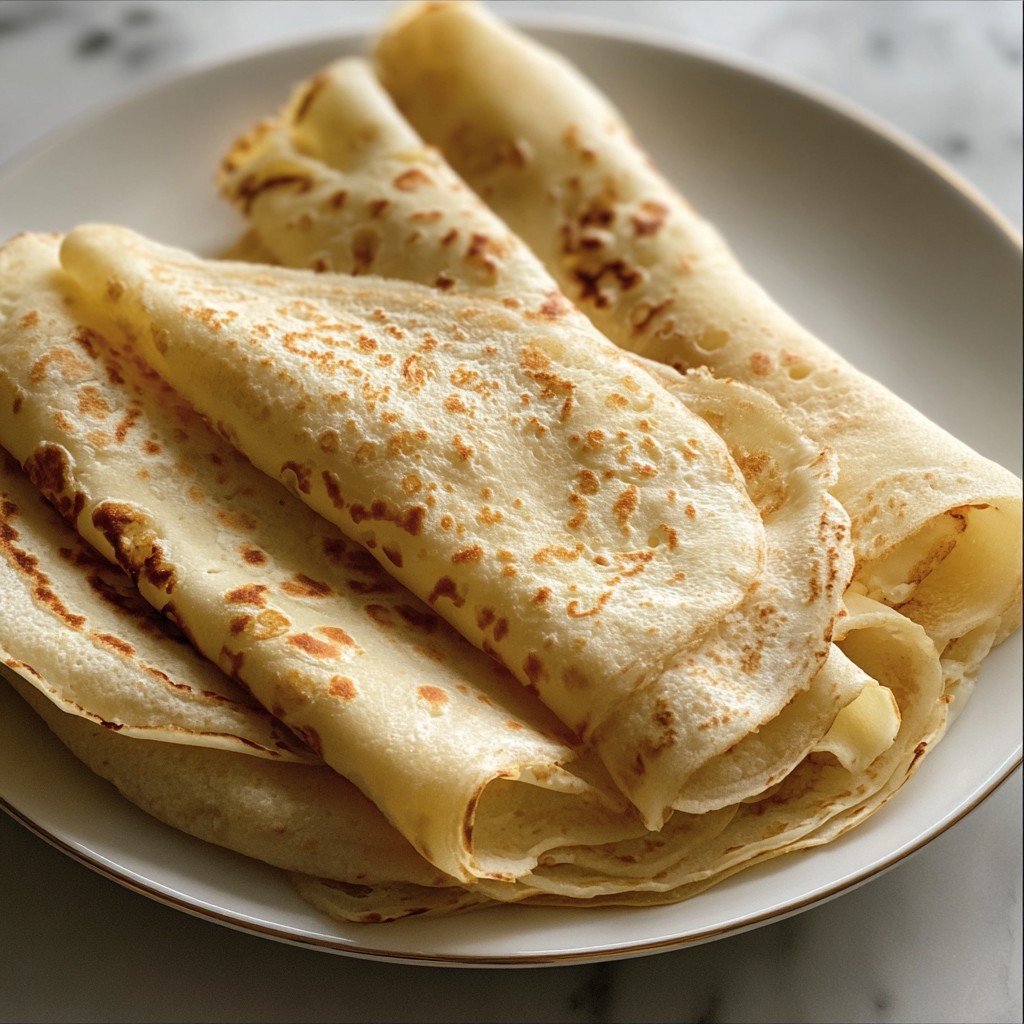
How I Actually Make Cottage Cheese Wraps
- Blend it all up: Toss the cottage cheese, eggs, flour, salt, and whatever spice tickles your fancy into a blender or food processor. Blitz until smooth—seriously, lumps are not your friend here. If you only have a stick blender, that’ll do, but you’ll want to really get in there.
- Heat your pan: Preheat a non-stick skillet on medium. A dash of oil helps (sometimes I go a bit heavy, which gives them crispier edges—not a bad thing!)
- Pour and swirl: Pour in about 1/3 cup of the batter and swirl the pan around so it makes a thin circle—it’ll look a bit runny, but trust the process.
- Cook until set: Wait for 2-3 minutes; the top should look mostly opaque (I always get distracted at this bit, so set a timer if you’re like me). Flip carefully with a spatula—it feels almost like flipping a big pancake, and mine are never perfectly round. That’s life.
- Finish & stack: Give the other side another 30 seconds to a minute. Once done, slide to a plate and make the next one. Honestly, I tend to sneak a bite off the edge of the first wrap while the others are cooking—it’s impossible not to.
Notes from the Trenches
- If your wraps stick, you probably didn’t use enough oil. Or maybe your pan’s just a bit tired, like mine.
- I once tried adding extra cheese for more flavor, but it got a bit gooey—lesson learned.
- Chilling the batter for 10 min (in the fridge) actually helps the wraps not fall apart; I used to skip this, but I think it does help.
Wrap Variations I’ve Tried (Some Worked, Some… Not So Much)
- Herby explosion: Finely chop fresh basil or dill and add to the batter. Makes them taste mega fresh.
- Spinach blitz: Throw in a handful of baby spinach before blending; turns the wraps (slightly) green and adds a bit of iron (or so I tell myself)
- Protein boost: Added a scoop of protein powder once—only do this if you like the taste. I wasn’t convinced.
- Sweet tooth: Swapped salt and spices for vanilla and a teaspoon of honey—bit odd, but not terrible with fruit.
Do You Need Fancy Equipment?
I use my old blender (the top bit rattles, which is mildly annoying but works). If yours is on the fritz, a food processor is great, and I’ve even mashed by hand with a fork in a pinch (bit lumpy, but totally doable). For the pan, non-stick is best—if you’ve only got cast iron like my uncle, just oil it up really well. Here’s a pan guide I trust if you want to deep-dive.
Storing Leftovers (If You Have Any… Ha!)
Pop wraps in an airtight container and they’ll be fine in the fridge for 2-3 days. I stack them with parchment paper so they don’t glue together (learned that the sticky way). But honestly? In my house, they rarely make it through till lunch the next day because some midnight snacker always gets there first.
How We Like to Serve Cottage Cheese Wraps
We pile them high with smoked turkey and salad, sometimes a slather of pesto when we’re feeling fancy. Or, if I’m eating solo, I do a quick scramble of eggs and spinach, roll it up, and eat it straight over the sink (don’t tell). My neighbour swears by using them as pizza crusts, which… actually works! Oh, and if you’re after extra inspiration, check out EatingWell’s cottage cheese wrap ideas.
Pro Tips They Don’t Tell You (But I Will!)
- Let the wraps cool before stacking—otherwise, you get a big mush instead of neat layers. I learned the hard way.
- Don’t try to rush the flip. Impatience = major breakage (ask my dog, who got half a torn wrap once)
- If it looks a bit strange in the pan—don’t panic. It always smooths out in the end.
Real Questions I’ve Been Asked About These Wraps
- Can I use ricotta instead of cottage cheese? Kinda! The wraps will work, but they end up thicker and somehow a tad sweeter. I personally lean toward cottage cheese for the lighter bite.
- Are these freezer-friendly? Sort of. I’ve tried freezing them, but when thawed they’re not as flexible—more like soft crackers. So I would just make them fresh, or keep for a couple days in the fridge.
- What if I don’t have a blender? Like I said earlier, mash like you’re making guacamole and hope for the best! Not silky, but still totally edible.
- Can I skip the flour? You can; they’ll just be more eggy, almost like a thin omelet. Not a bad thing, but won’t hold together the same.
- How do I stop them sticking? Basically: more oil, hotter pan, and a bit of patience, mate.
Totally random, but once I started making these wraps, I realized they also make pretty decent emergency breakfast roll-ups with peanut butter and jam—yeah, I know, sounds bizarre but don’t knock it till you try. There’s no wrong way to fill them, and that’s what keeps it fun. Anyway, hope you give ’em a go—I’ll bet they earn a spot in your weekday regulars, or at the very least, help you finish up that forgotten cottage cheese in the back of your fridge.
Ingredients
- 1 cup cottage cheese (low fat or full fat)
- 3 large eggs
- 1/4 cup grated parmesan cheese
- 1/2 teaspoon garlic powder
- 1/4 teaspoon salt
- 1/2 teaspoon black pepper
- 1 tablespoon chopped fresh chives (optional)
- 1 teaspoon olive oil, for greasing pan
Instructions
-
1Preheat a nonstick skillet or crepe pan over medium heat and lightly grease with olive oil.
-
2In a blender, combine cottage cheese, eggs, parmesan cheese, garlic powder, salt, and black pepper. Blend until completely smooth.
-
3Pour about 1/4 cup of the batter into the pan and swirl to form a thin, even layer.
-
4Cook each wrap for 2-3 minutes on one side until the edges lift and the bottom is golden, then carefully flip and cook for another 1-2 minutes.
-
5Transfer finished wraps to a plate and cover with a towel to keep warm. Repeat with remaining batter.
-
6Fill the wraps with your favorite fillings and sprinkle with chopped chives if desired. Serve immediately.
Approximate Information for One Serving
Nutrition Disclaimers
Number of total servings shown is approximate. Actual number of servings will depend on your preferred portion sizes.
Nutritional values shown are general guidelines and reflect information for 1 serving using the ingredients listed, not including any optional ingredients. Actual macros may vary slightly depending on specific brands and types of ingredients used.
To determine the weight of one serving, prepare the recipe as instructed. Weigh the finished recipe, then divide the weight of the finished recipe (not including the weight of the container the food is in) by the desired number of servings. Result will be the weight of one serving.
Did you make this recipe?
Please consider Pinning it!!
Leave a Comment