
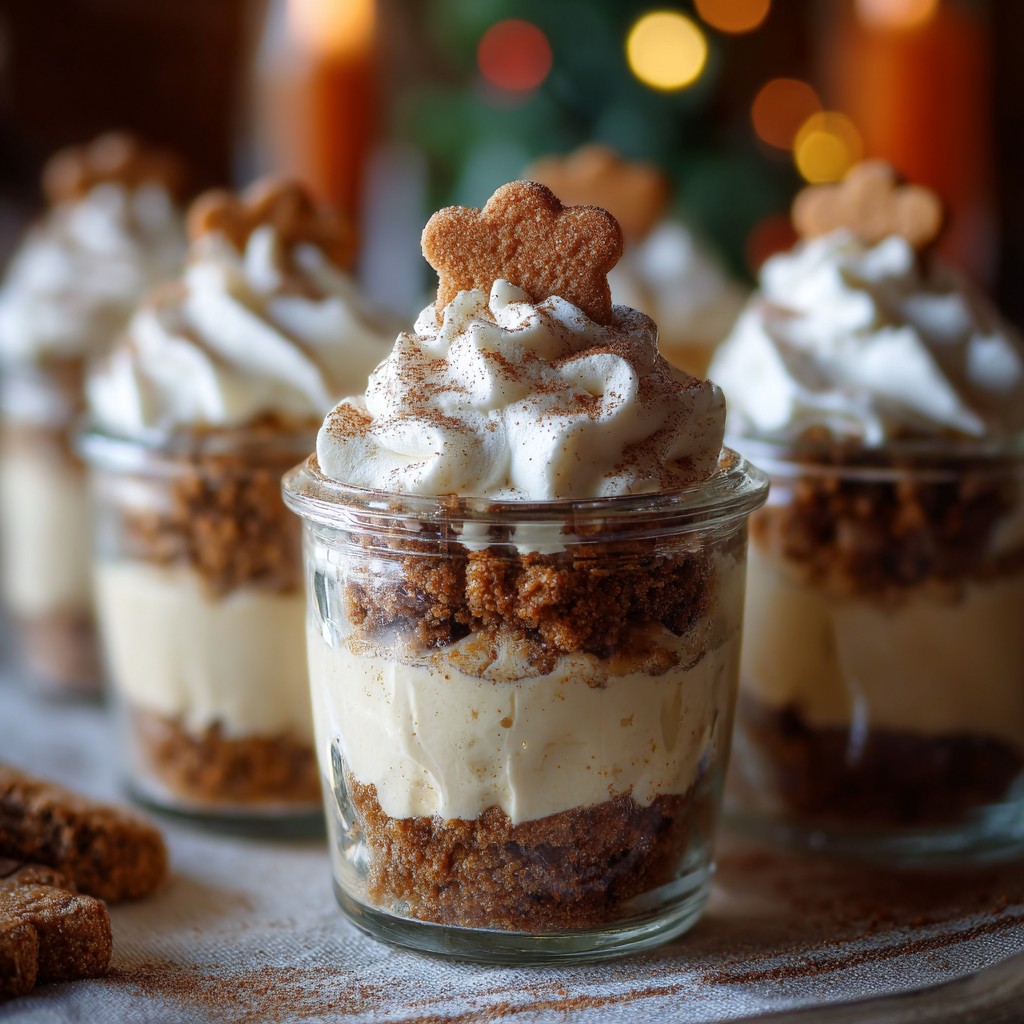
Pull up a Chair, Friend – Let’s Make Christmas Gingerbread Pudding Cups
Hey! So, let me tell you, these gingerbread pudding cups came about one December when I was determined not to bake yet another lopsided gingerbread house (mine always end up leaning like that tower in Pisa – you know the one). Instead, I wanted something cozy, spoonable, and frankly, a little less structurally ambitious. Cue: these creamy, spiced pudding cups that taste like Christmas in a, well, cup. The first time I made them, I left the cloves out by accident; never again. Lesson learned.
Why You’ll Absolutely Love These (Even If You’re Not a Super Fan of Gingerbread)
I make this recipe when I want to impress in a way that feels homey, not fussy. My family goes absolutely bananas for these, especially on Christmas Eve – my uncle literally licked his spoon clean (don’t tell him I told you). They’re warm and full of those big gingerbready flavors. Honestly, if you ever groaned at rock-hard gingerbread cookies (me, every year), this pudding is a joy; soft, creamy, no sore jaws involved. Oh, and it comes together without that endless list of steps you find in fancy cookbooks – though, if you want to get fancy, you *can* add a drizzle of rum sauce somewhere (I’ll get to that).
You’ll Need These (But Here’s Some Real-World Flexibility)
- 2 cups (480ml) whole milk – Sometimes I use oat milk if that’s what’s left, tastes great either way.
- 120g dark brown sugar – My gran always insisted on muscovado, but supermarket dark brown sugar works just fine.
- 2 tablespoons (heaped) cornstarch (cornflour across the pond) – Potato starch works in a pinch, strangely.
- ¼ cup (about a handful) blackstrap molasses – Treacle does the trick too if you can’t find molasses.
- 1 tablespoon unsalted butter (but salted is okay, just skip the extra pinch of salt later)
- 1 teaspoon ground ginger – I use a little more, maybe 1.5 tsp, if it’s cold outside.
- ½ teaspoon cinnamon
- ¼ teaspoon nutmeg
- Pinch of ground cloves (trust me this time!)
- Pinch of salt
- 1 teaspoon good vanilla extract – Real or imitation, up to you; life’s too short.
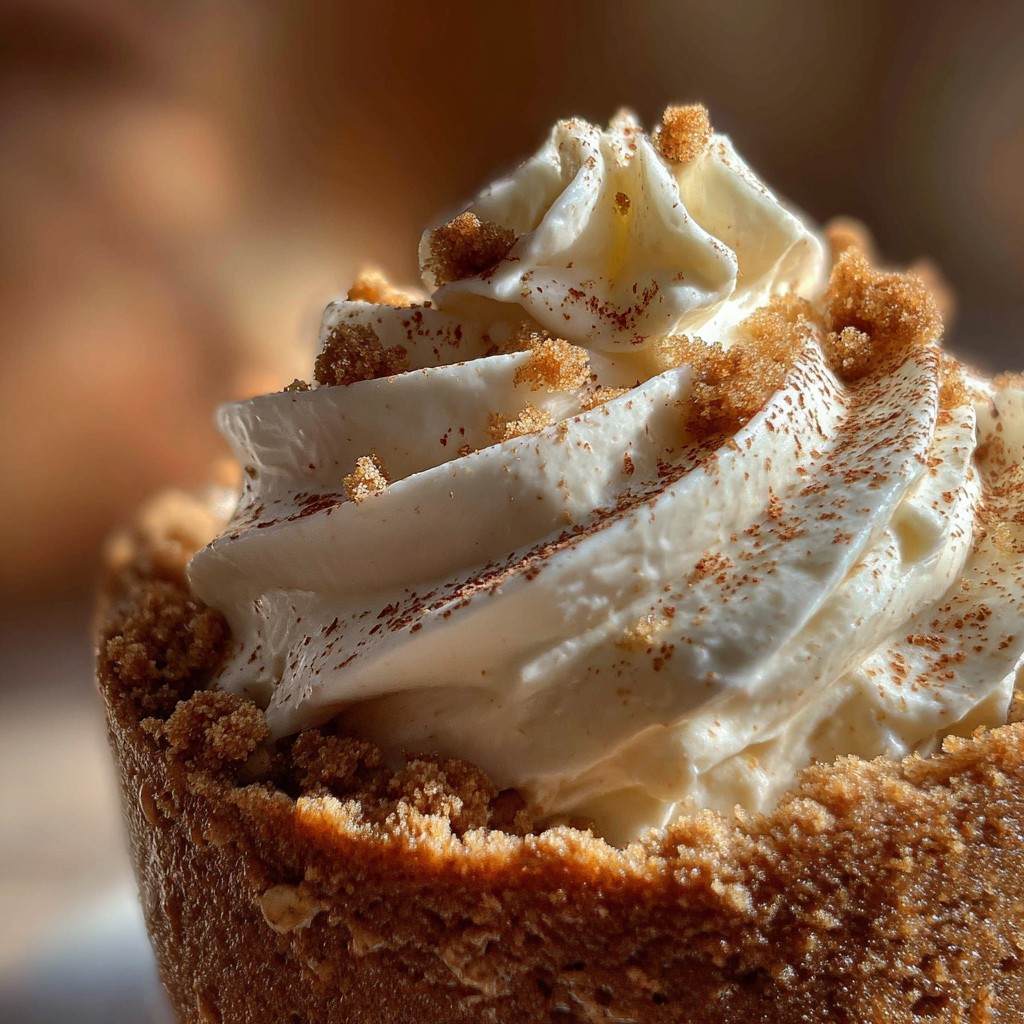
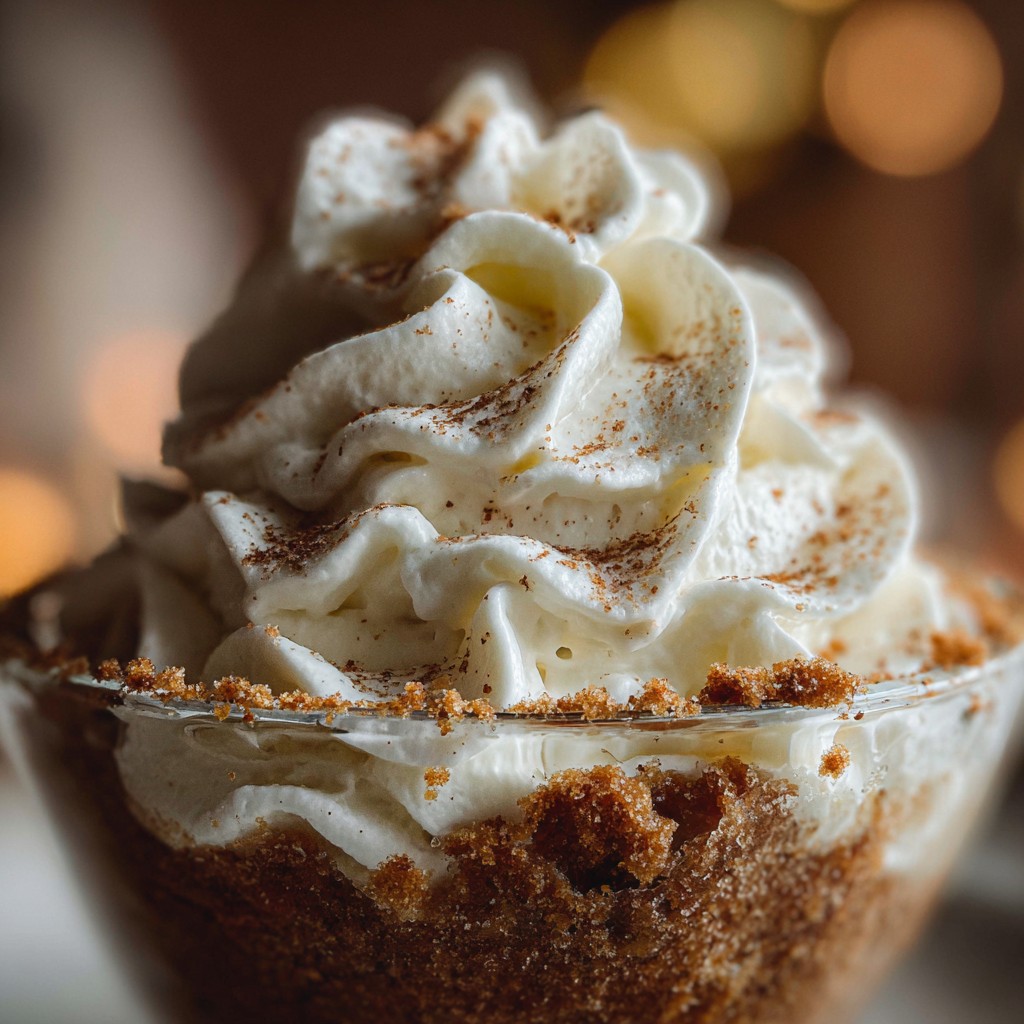
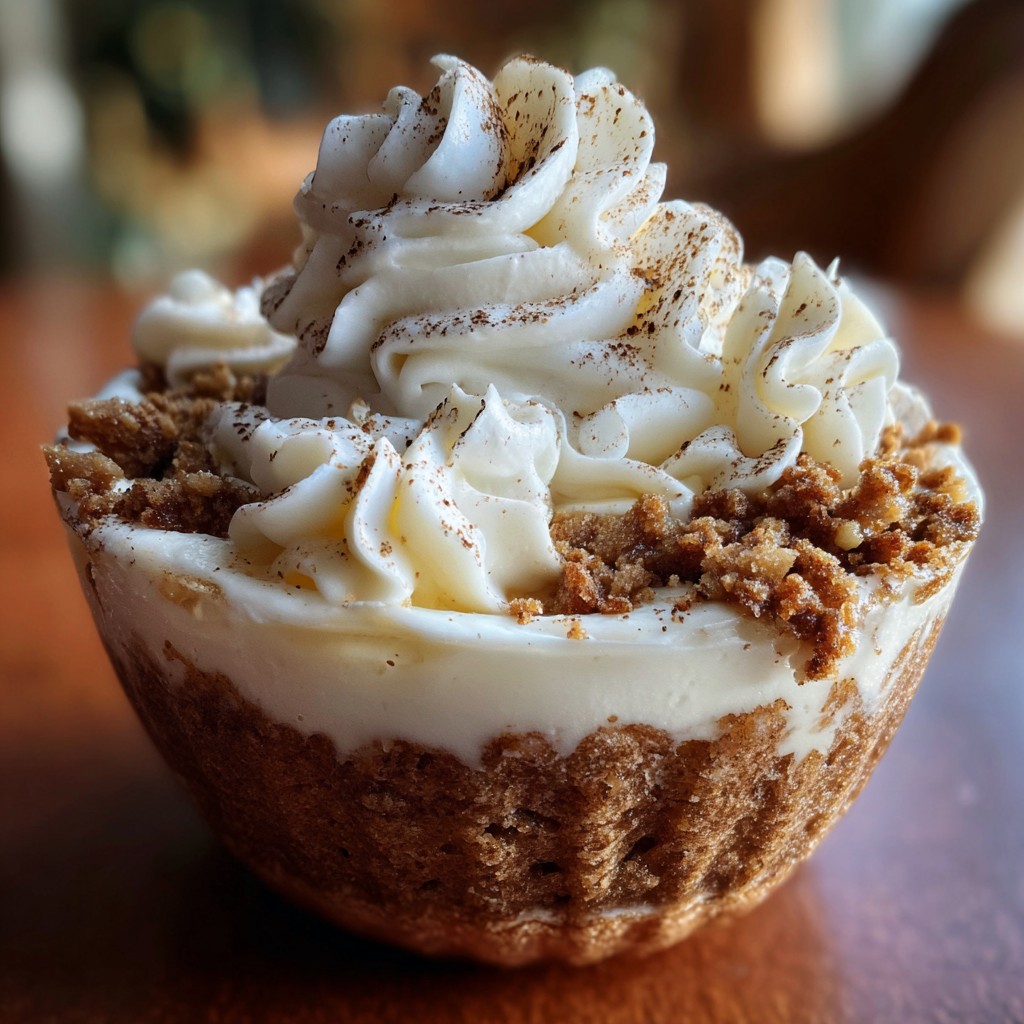
- Whipped cream + gingersnap cookie crumbs for serving (not essential, but highly encouraged).
Let’s Get Cooking (Wander Off, Come Back, It’s Fine)
- First, grab a medium saucepan (nonstick is friendly, but any’ll do). Whisk together the milk, brown sugar, cornstarch, molasses, and your spices directly in the pan. Lumps at this stage are totally normal; they disappear as it heats. This is where I usually sneak a taste.
- Place it on medium heat. Whisk constantly (gentle is fine, no need to go wild). After five minutes-ish, it’ll start to thicken like magic. Don’t panic if it’s still a bit runny – it sets more as it cools.
- Remove from heat, stir in the butter, salt, and vanilla. Give it a good spin – buttery gloss is what you’re after. I sometimes get distracted and forget the butter; just sneak it in before it chills and you’ll be alright.
- Pour into little cups, glasses, jam jars; whatever you’ve got. I usually spill a little (it’s tradition at this point). Pop them in the fridge for at least an hour – but actually, I think it tastes better the next day.
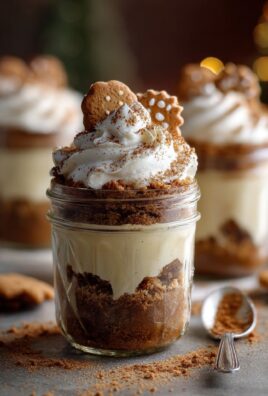
- To serve: Top with whipped cream and gingersnap crumbs. Or don’t. I also like it with a spoonful of plain yogurt, kind of odd but works.
A Few ‘Don’t Sweat It’ Notes from My Many Batches
- Once I made this with honey ‘cause I ran out of molasses. It was okay, but way sweeter, so go easy on the sugar if you do that.
- If you’re feeling festive, add a small splash of dark rum after it’s off the heat. Does wonders. Just don’t let grandma get too carried away.
- This pudding is very forgiving but don’t walk away for too long during the thickening – it’ll try to stick to the bottom if you ignore it (mine did once; scraping burnt pudding is zero fun).
Well, Here Are a Few Variations I’ve Messed With
- Vegan: Swap in plant milk and coconut oil for dairy stuff. Pretty tasty.
- Spice tweak: Add orange zest… but just a little. I once went rogue and it turned into orange pudding with some ginger echoes. Not my best.
- If you want extra crunch, layer the pudding cups with broken gingersnaps. This can get messy but totally worth it (or not, if you hate crumbs in your pudding).
Equipment You’ll Need (But Don’t Panic if You’re Missing Something)
- Saucepan – Any size around 1L works (I once used a frying pan; honestly, pudding just took longer to thicken, but it still worked).
- Whisk – If you don’t have one, a fork works fine, just takes a bit longer to get rid of lumps.
- Measuring cups, but some folks (like my neighbour Liz) just eyeball it. More power to them.
How to Store It (But… Will You Even Have Leftovers?)
Pop leftovers into lidded jars or cover with plastic wrap. They keep cool in the fridge for about three days – though honestly, in my house it never lasts more than a day! If you stack too many cups, they sometimes ‘sweat’ a bit inside, but just give them a quick stir before serving.
How I Like to Serve It (Feel Free to Disregard)
I love a big pouf of whipped cream on top, with a tiny dash of cinnamon and maybe a crumbled biscuit. At Christmas, we sometimes finish the cups with those peppermint bark shards (just because it’s fun). Once, my youngest insisted on sprinkles, which – to be honest – took away from the grown-up vibes, but everyone laughed.
If I Could Go Back in Time: A Few Pro-Tips
- I once tried rushing this pudding by turning up the heat – don’t. It went from creamy to lumpy real quick. Low and slow is king here.
- I recommend smoothing out the tops of your pudding before chilling. No real reason, just looks fancier (I forget half the time).
- If you’re making these for a crowd, double the batch, but use a big, wide pan or you’ll wait forever for it to thicken. Learned that one the hard way.
FAQ Stuff (Actual Questions I’ve Gotten, Believe It or Not)
- Can I make this ahead for a party? – Oh, definitely. It’s actually nicer a day later. Just don’t add the whipped cream till you serve or it gets, well, dodgy.
- My pudding’s runny. Did I ruin it? – Not at all! Stick it in the fridge; it sets up a bit, and if it’s still loose – call it gingerbread custard and serve over cake. (Who’s complaining?)
- What if I don’t have molasses? – Try dark honey or treacle. It’s not quite the same, but it’ll taste pretty good. Or check out this molasses guide (seriously interesting read!)
- Can I freeze them? – I wouldn’t, honestly. The texture goes weird, kind of icy-pudding. But go ahead if you must – I just make fresh next time.
- Do kids like it? – Mine do, but they’re odd. It’s a bit spicy; adjust the ginger down if your crowd is spice-shy.
If you want more ideas for Christmas treats, I actually love browsing Sally’s Baking Addiction – her holiday stuff is great. Anyway, hope you have fun making these pudding cups; may your spices be bold and your spoons always clean.
Ingredients
- 2 cups whole milk
- 1/2 cup brown sugar
- 3 tablespoons cornstarch
- 1 teaspoon ground ginger
- 1 teaspoon ground cinnamon
- 1/4 teaspoon ground cloves
- 1/4 teaspoon ground nutmeg
- 1/4 teaspoon salt
- 1 tablespoon unsulfured molasses
- 1 teaspoon vanilla extract
- 1 tablespoon unsalted butter
- Whipped cream, for topping
- Crushed gingerbread cookies, for garnish
Instructions
-
1In a saucepan, whisk together the brown sugar, cornstarch, ginger, cinnamon, cloves, nutmeg, and salt.
-
2Gradually whisk in the milk until the mixture is smooth and no lumps remain.
-
3Place the saucepan over medium heat and cook, stirring constantly, until the pudding begins to thicken and bubble, about 7-9 minutes.
-
4Remove from heat and stir in the molasses, vanilla extract, and butter until fully incorporated.
-
5Pour the pudding evenly into 6 serving cups. Let cool slightly, then chill in the refrigerator for at least 2 hours or until fully set.
-
6Just before serving, top each cup with whipped cream and crushed gingerbread cookies for garnish.
Approximate Information for One Serving
Nutrition Disclaimers
Number of total servings shown is approximate. Actual number of servings will depend on your preferred portion sizes.
Nutritional values shown are general guidelines and reflect information for 1 serving using the ingredients listed, not including any optional ingredients. Actual macros may vary slightly depending on specific brands and types of ingredients used.
To determine the weight of one serving, prepare the recipe as instructed. Weigh the finished recipe, then divide the weight of the finished recipe (not including the weight of the container the food is in) by the desired number of servings. Result will be the weight of one serving.
Did you make this recipe?
Please consider Pinning it!!
Leave a Comment